

Slow Cooker Recipes: Easy Meals, Less Effort!
Family-friendly dishes for busy people — quick prep, delicious results.
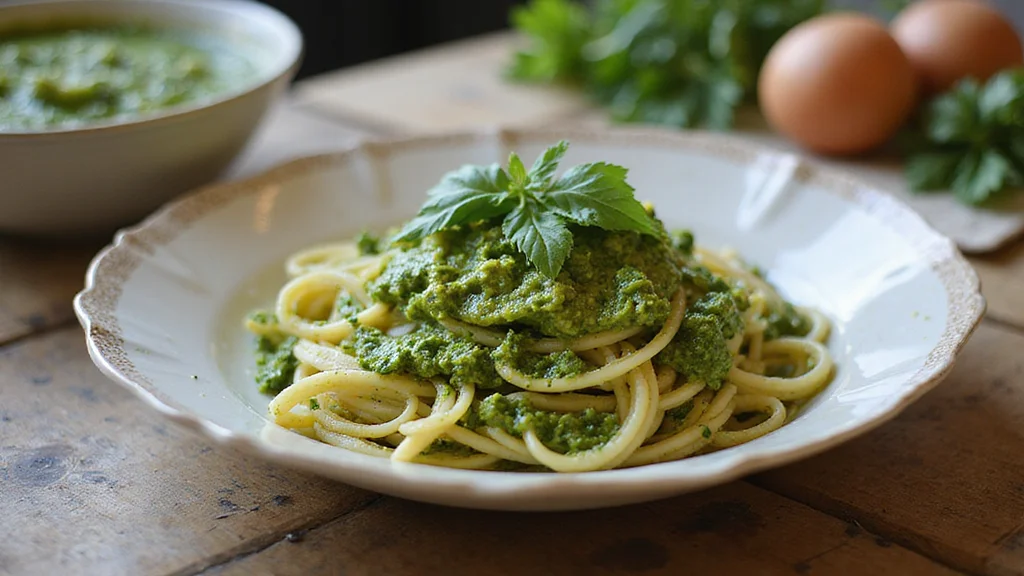
Grab yours for $4There’s nothing quite like the vibrant, fresh taste of homemade pesto to elevate any dish.
The combination of basil, garlic, pine nuts, and Parmesan creates a symphony of flavors that dance on your palate.
I first encountered authentic pesto in the sun-drenched kitchens of Genoa, where the aroma is as intoxicating as the taste.
Whether it’s a simple weeknight meal or a fancy dinner party, homemade pesto offers a burst of flavor with minimal effort.
This recipe will guide you through crafting pesto that’s perfect for pasta, sandwiches, or even as a dip.
The History and Cultural Significance
• Perfect Homemade Pesto traces its origins to Liguria, Italy, where it was originally created by local farmers using fresh basil and olive oil.
• The dish evolved over decades as ingredients like Parmesan and pine nuts were incorporated, eventually becoming the beloved version we know today.
• In Italian culture, this dish traditionally appears at family gatherings, symbolizing togetherness and the bounty of nature.
• While many variations exist across different regions, the authentic version maintains the use of fresh ingredients and a mortar and pestle, which sets it apart from imitations.


Recipe Overview
Nutritional Information (per serving)


Essential Equipment Guide
Mortar and Pestle: This ancient tool is crucial for achieving the authentic texture and flavor of traditional pesto. While a food processor can be used, the manual grinding with a mortar and pestle releases essential oils from the basil, enhancing the sauce’s freshness. Look for a heavy, sturdy mortar with a rough interior.
Food Processor: For those short on time, a food processor offers a quick alternative to the mortar and pestle. Choose a model with a pulse setting to avoid over-blending the ingredients.
Microplane Grater: A fine grater is perfect for achieving the delicate, airy texture of freshly grated Parmesan cheese, which is essential for the sauce’s creamy consistency.


Ingredients
For the Pesto
|
|
| Amount | Ingredient | Notes |
|---|---|---|
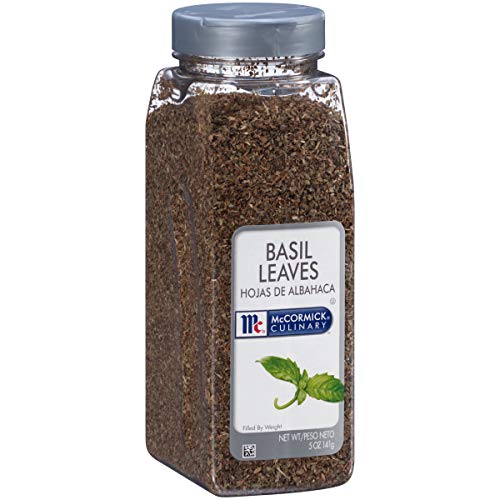
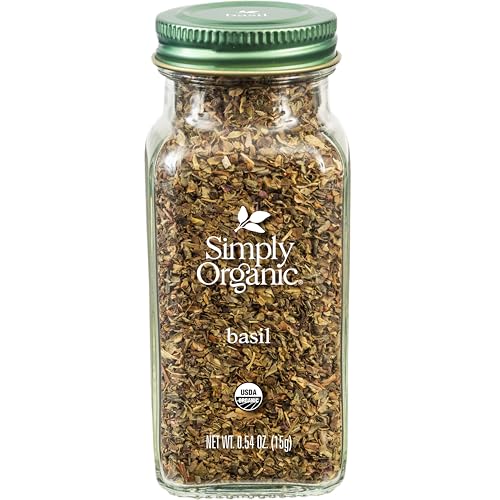
| 2 cups | fresh basil leaves | packed, for vibrant flavor |
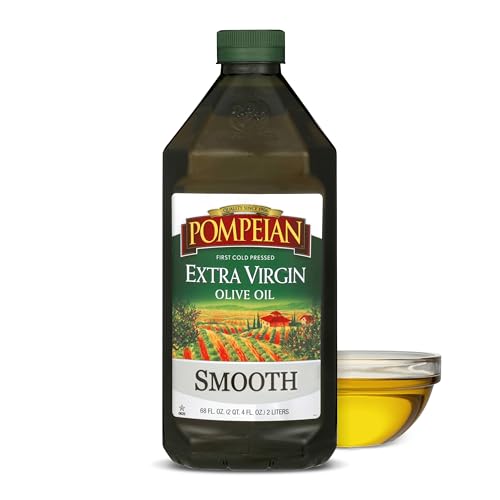
| 1/2 cup | extra virgin olive oil | smoothens the texture |
| 1/3 cup | pine nuts | toasted, adds richness |
| 3 cloves | garlic | crushed, for aromatic depth |
| 1/2 cup | Parmesan cheese | freshly grated, enhances creaminess |
| 1/4 teaspoon | salt | to taste |
| 1/8 teaspoon | black pepper | freshly ground, for mild heat |


Preparation Methods
Toasting Pine Nuts: Toasting brings out the rich, nutty flavor of pine nuts, which is essential for depth in the pesto. Use a dry skillet over medium heat, stirring constantly to prevent burning. They're ready when golden brown and aromatic.
Bruising Basil: Gently bruising basil leaves before adding them to the mortar releases essential oils, enhancing the basil's flavor. Use your hands to lightly crush the leaves, being careful not to tear them.
Emulsifying with Olive Oil: Slowly drizzling olive oil while blending ensures that the pesto emulsifies, resulting in a smooth and creamy texture. Pour in a thin stream for the best results.
Step 1: Prepare Ingredients

Gather all the ingredients and equipment needed for the recipe.
Measure out the basil, olive oil, pine nuts, garlic, Parmesan, salt, and pepper.
Ensure all ingredients are fresh and of high quality for the best flavor.
Lay everything out on a clean workspace for easy access.


Step 2: Toast the Pine Nuts
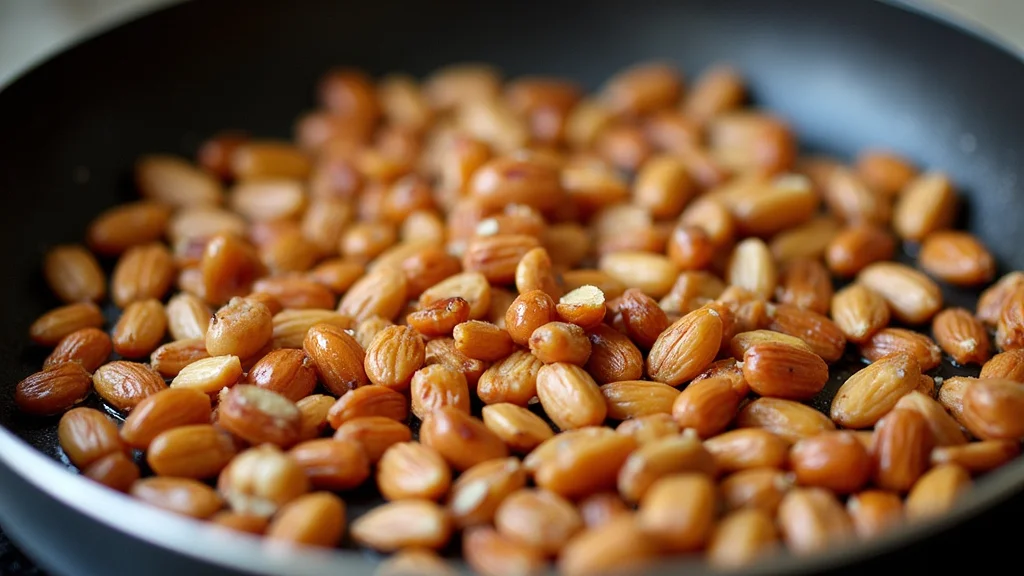
Place a dry skillet over medium heat and add the pine nuts.
Stir constantly to prevent them from burning as they toast.
Look for a golden brown color and a nutty aroma to indicate they're done.
Remove from heat and let them cool before using.
Step 3: Bruise the Basil
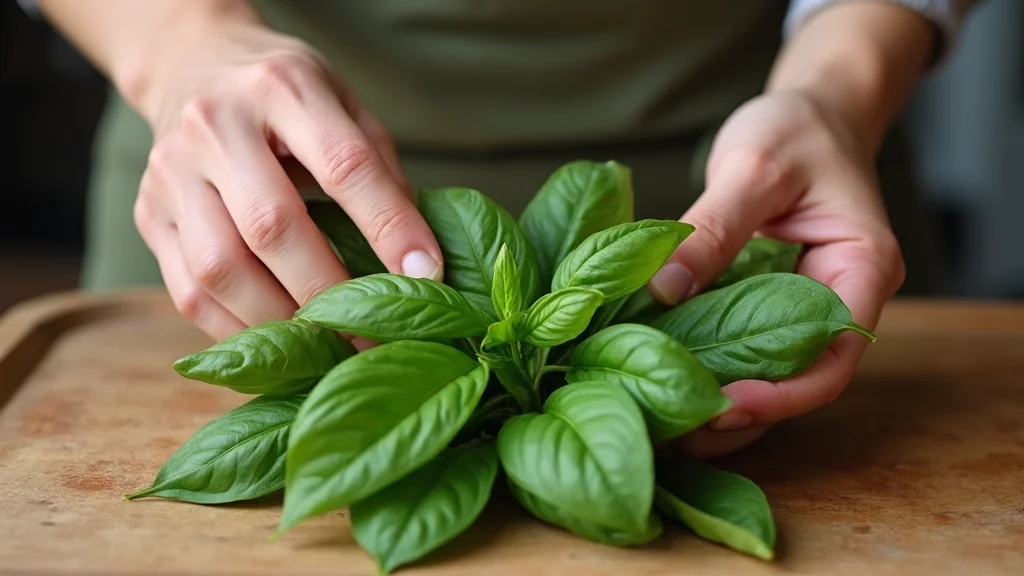
Take the fresh basil leaves and gently bruise them with your hands.
This releases the essential oils that add depth to the pesto's flavor.
Be careful not to tear the leaves, as this can cause them to oxidize.
Set aside the bruised basil for later use.
Step 4: Crush Garlic in Mortar
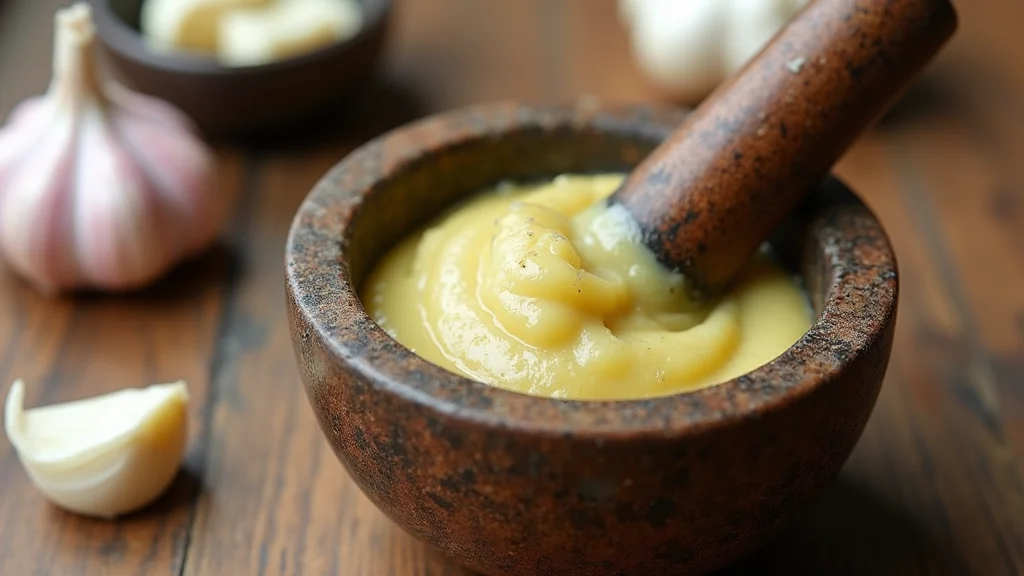
Add the garlic cloves to the mortar and sprinkle with a pinch of salt.
Use the pestle to crush the garlic into a smooth paste.
The salt helps to break down the garlic and enhances its flavor.
Ensure the garlic is evenly crushed with no large chunks remaining.
Step 5: Combine Basil and Pine Nuts
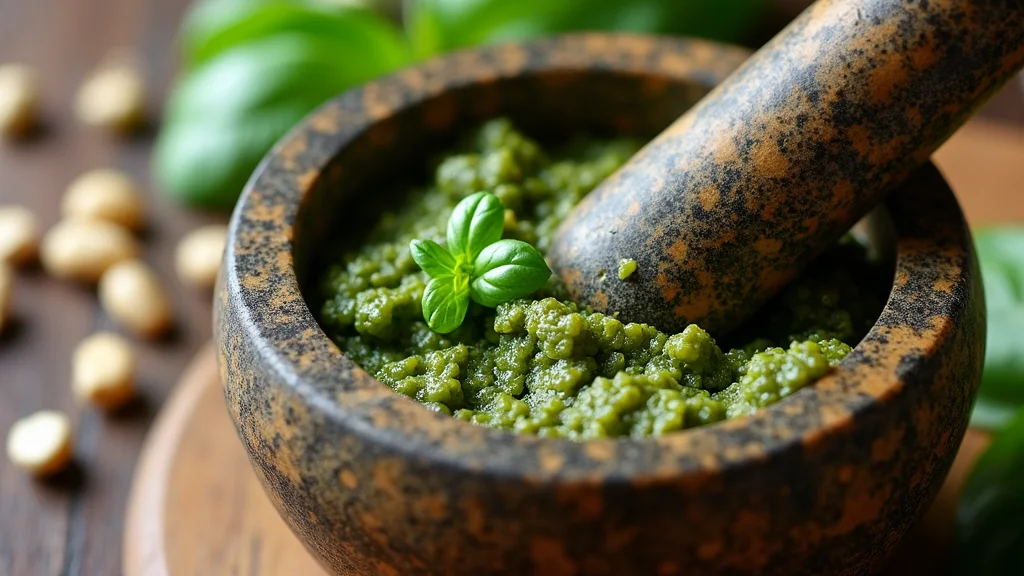
Add the bruised basil and toasted pine nuts to the mortar with the garlic.
Gently pound the ingredients together until they form a coarse paste.
Ensure the mixture is well combined and the pine nuts are broken down.
This step builds the foundation for the pesto's texture.
Step 6: Incorporate Parmesan Cheese
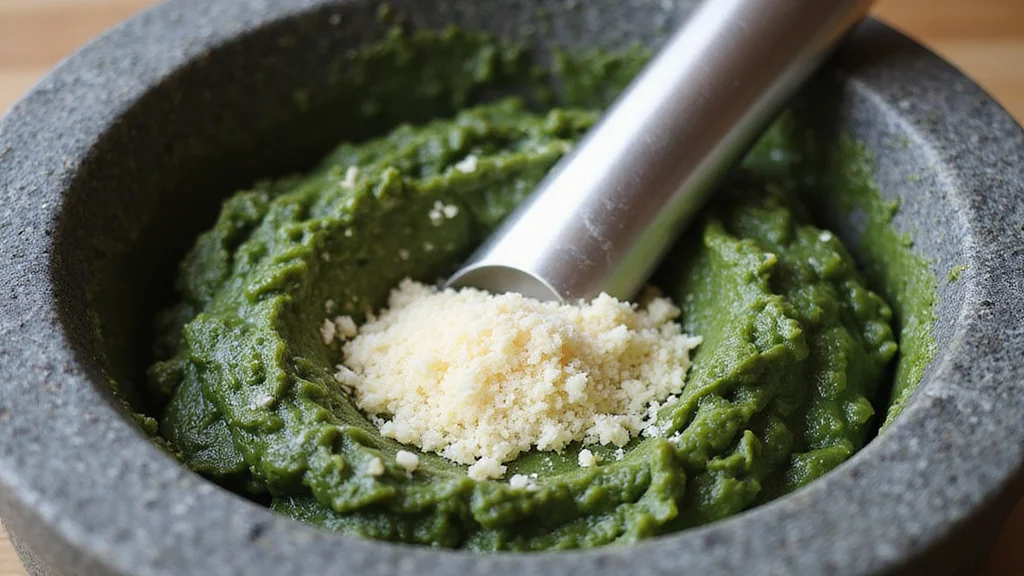
Add the freshly grated Parmesan cheese to the mortar.
Mix it gently into the basil and pine nut paste.
The cheese adds creaminess and should be well integrated with other ingredients.
Ensure there are no clumps of cheese left in the mixture.
Step 7: Drizzle in Olive Oil
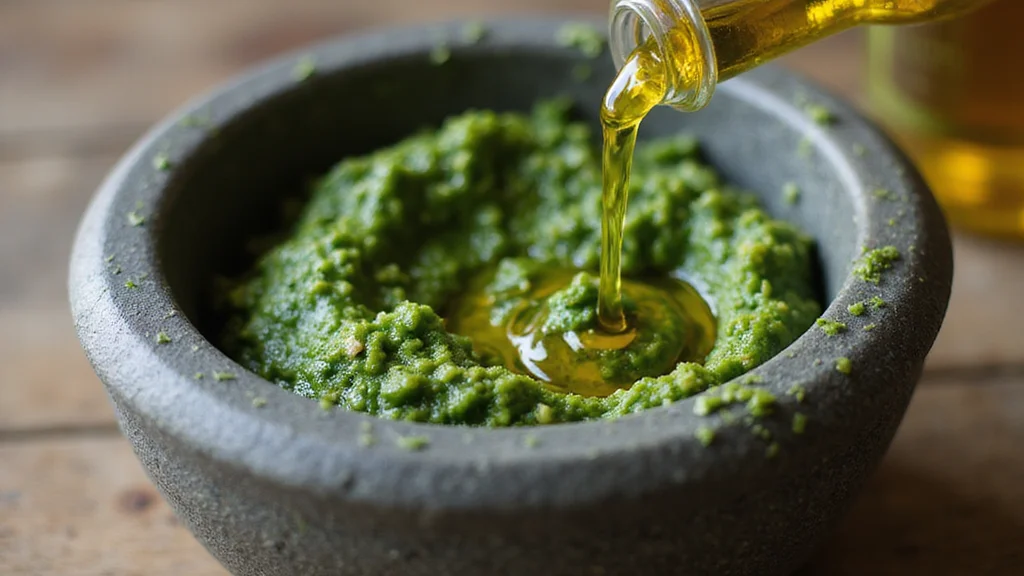
Slowly drizzle the extra virgin olive oil into the mixture while stirring.
Continue to mix until the oil is fully incorporated and the pesto is smooth.
The gradual addition of oil helps emulsify the sauce, ensuring a creamy texture.
Adjust the amount of oil to achieve your desired consistency.
Step 8: Season with Salt and Pepper
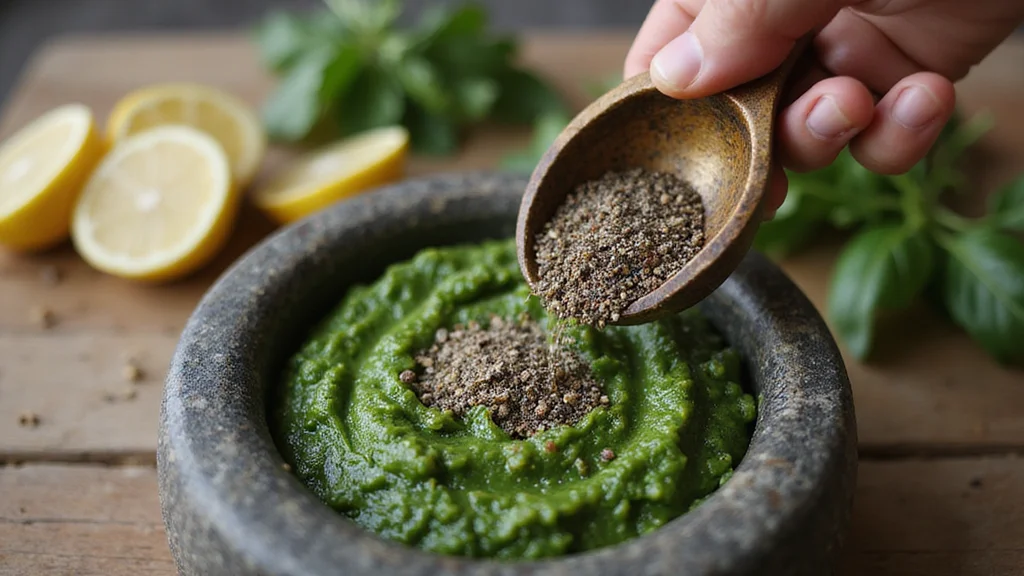
Taste the pesto and add salt and freshly ground black pepper to taste.
Mix well to ensure even seasoning throughout the pesto.
Adjust the seasoning based on personal preference for saltiness and heat.
The final flavor should be balanced, with all ingredients harmonizing.
Critical Timing and Temperature Guide
Toasting Pine Nuts: Toast for 3-5 minutes over medium heat until golden brown. Watch closely to avoid burning.
Combining Ingredients: Do not rush the pounding process; spend about 5 minutes to ensure a well-integrated mixture.
Olive Oil Emulsification: Drizzle oil slowly over 2 minutes while stirring continuously for a smooth consistency.
Pro Tips for Perfect Homemade Pesto
• Ingredient Selection: Use fresh, vibrant basil leaves and high-quality extra virgin olive oil for the best flavor.
• Preparation Secret: Briefly chill the mortar before use to keep the ingredients cool and prevent oxidation.
• Temperature Management: Keep ingredients at room temperature to ensure smooth emulsification.
• Texture Enhancement: Use a mortar and pestle instead of a processor for a more rustic, authentic texture.
• Flavor Layering: Add a few drops of lemon juice to enhance the pesto's freshness and balance.
• Make-Ahead Strategies: Store pesto in an airtight container with a layer of olive oil on top to prevent browning, and refrigerate for up to a week.
• Restaurant-Quality Finishing Touches: Sprinkle a small amount of sea salt flakes on top just before serving for added texture.
• Equipment Optimization: Ensure your mortar and pestle are thoroughly dried before use to prevent water from diluting the pesto.
Troubleshooting Common Issues
• Texture Too Dense: This can be caused by over-processing. Use a mortar and pestle for a coarser, traditional texture.
• Flavors Unbalanced: If the pesto is too garlicky, add more basil and Parmesan to balance it.
• Oil Separation: Occurs when oil is added too quickly. Drizzle slowly while stirring to emulsify properly.
• Pesto Browning: Oxidation is the cause. Store with a layer of olive oil on top to prevent air contact.
• Overly Bitter Taste: Often caused by using mature basil leaves. Use young, fresh leaves for a sweeter flavor.
• Too Thick Consistency: Add more olive oil or a splash of pasta water to thin the sauce to desired consistency.


Variations and Regional Differences
• Genoese Pesto: The original version uses only the freshest basil, Parmigiano-Reggiano, and Ligurian olive oil, emphasizing simplicity.
• Sicilian Pesto (Pesto alla Trapanese): Incorporates tomatoes and almonds, giving it a sweeter, more robust flavor profile.
• French Pistou: Omits nuts, focusing on basil, garlic, and cheese for a lighter sauce often used in soups.
• California Pesto: Uses walnuts instead of pine nuts and includes avocado for creaminess and a unique twist.
Food Science Behind the Recipe
• Emulsification: Olive oil forms a stable emulsion with the basil and cheese, creating a creamy texture.
• Maillard Reaction: Toasting pine nuts initiates the Maillard reaction, producing complex, nutty flavors.
• Enzyme Activity: Crushing basil releases enzymes that enhance its aromatic compounds, contributing to pesto's distinct flavor.
• Oxidation Prevention: Adding a layer of oil on top of stored pesto prevents oxidation, preserving its vibrant color.
Frequently Asked Questions
What's the most common mistake people make when preparing homemade pesto? Over-processing the ingredients, which can lead to a paste-like consistency rather than a textured sauce.
Can I freeze homemade pesto? Yes, freeze in ice cube trays for easy portioning, but note that the texture may change slightly.
Is it okay to substitute ingredients? While substitutions like walnuts for pine nuts are common, they will alter the flavor profile.
How do I prevent my pesto from turning brown? Store with a thin layer of olive oil on top and keep in an airtight container.
Can I use dried basil instead of fresh? Fresh basil is essential for the vibrant flavor and aroma characteristic of authentic pesto.
Why does my pesto taste bitter? This may be due to using mature basil leaves or over-processed olive oil.
How long does homemade pesto last in the fridge? It can last up to a week when stored properly with an oil layer to prevent oxidation.
Serving and Presentation Guide
• Traditional Presentation: Serve over freshly cooked pasta with a sprinkle of Parmesan and a basil leaf garnish.
• Modern Twist: Use as a spread on crusty bread and garnish with cherry tomatoes and fresh mozzarella.
• Appetizer Style: Serve in a small dish with a drizzle of olive oil and a side of vegetable sticks or crackers.
• Salad Dressing: Dilute with extra olive oil and lemon juice, and drizzle over a mixed green salad for a refreshing touch.
Conclusion
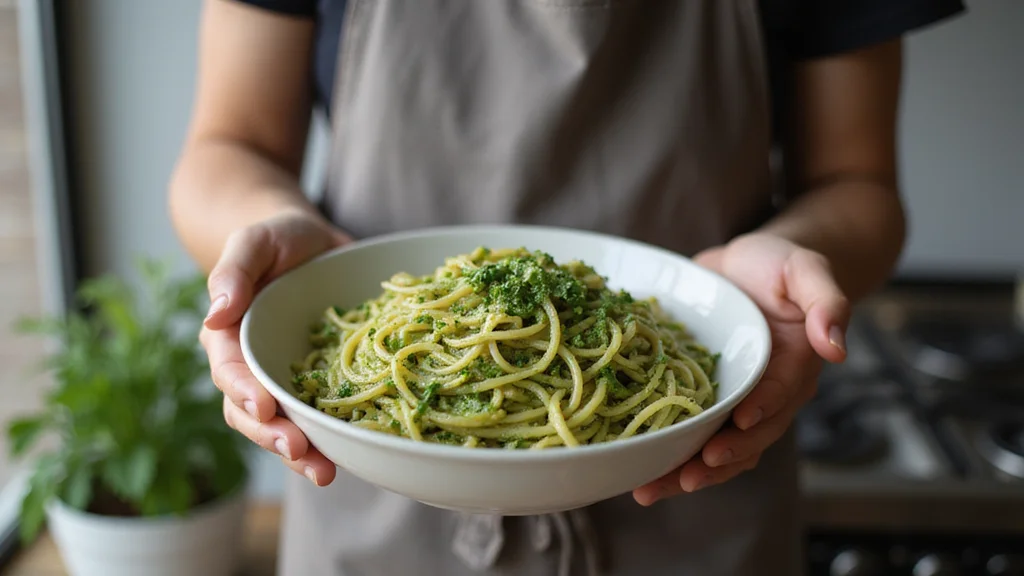
By following this recipe, you'll create a delightful homemade pesto that captures the essence of Italian cuisine.
The fresh ingredients and careful preparation make all the difference in achieving that perfect balance of flavors.
Whether you're a seasoned chef or a home cook, this recipe is sure to impress and become a favorite in your culinary repertoire.


