Slow Cooker Recipes: Easy Meals, Less Effort!
Family-friendly dishes for busy people — quick prep, delicious results.
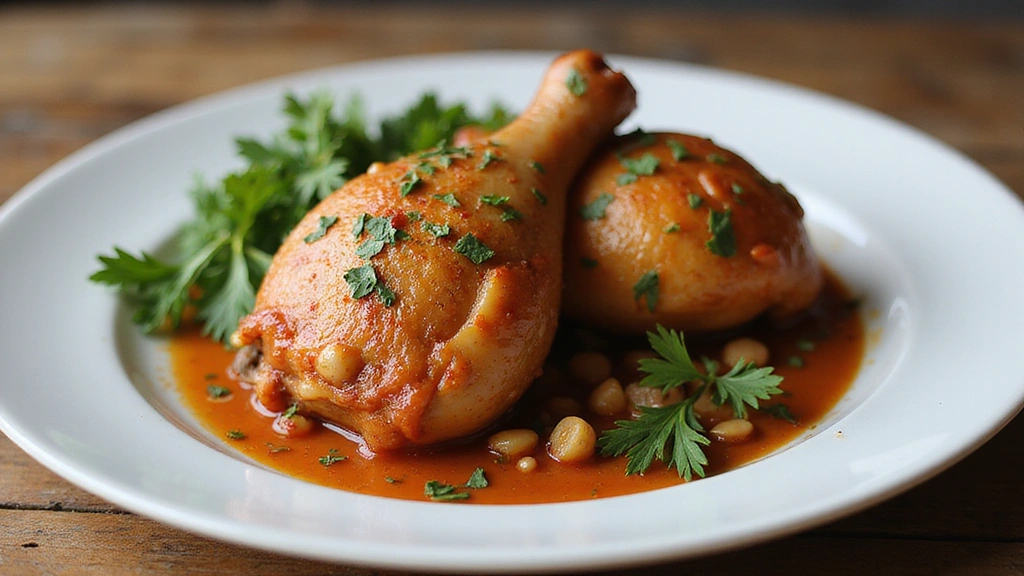
Grab yours for $4I first stumbled upon these quick chicken breast recipes during a hectic weeknight when I needed something easy yet satisfying.
The tender, juicy chicken paired with simple yet bold flavors makes this dish a go-to for any occasion.
Whether you’re a busy professional or a parent juggling family meals, these recipes offer convenience without sacrificing taste.
The versatility of chicken breast allows for endless flavor combinations, ensuring that you’ll never tire of this staple ingredient.
With just a few ingredients and minimal prep time, these recipes are sure to become a staple in your kitchen.
Get ready to impress your family and friends with these easy-to-make, delicious chicken dishes.
The History and Cultural Significance
• Chicken Breast Recipes trace their origins to Europe during the Renaissance period, where they were originally created by chefs seeking to highlight the white meat.
• The dish evolved over decades as new spices and cooking techniques were introduced, eventually becoming the beloved version we know today.
• In many Western cultures, this dish traditionally appears at family gatherings and celebrations, symbolizing comfort and togetherness.
• While many variations exist across different regions, the authentic version maintains a juicy, tender texture that sets it apart from imitations.


Recipe Overview
Nutritional Information


Essential Equipment Guide
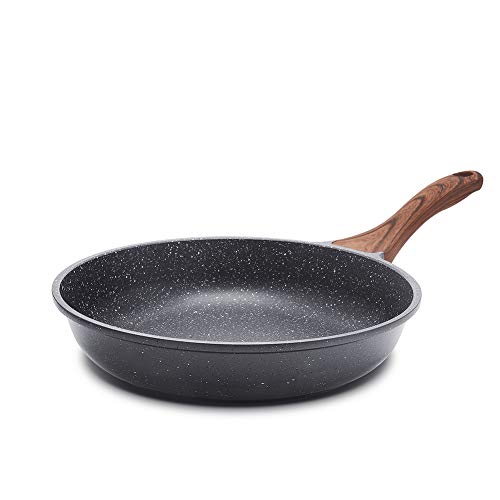
Non-stick Skillet: A high-quality non-stick skillet is crucial for achieving a perfectly seared chicken breast without sticking or burning. Alternatives like stainless steel can work, but they require more oil and careful heat management. Look for a skillet with a heavy bottom for even heat distribution.
Meat Thermometer: Ensures that the chicken is cooked to the perfect internal temperature of 165°F without drying out. Digital thermometers are quick and accurate, but an analog thermometer can work in a pinch.
Sharp Chef’s Knife: A sharp knife is essential for cleanly slicing chicken breasts, which affects cooking time and presentation. A serrated knife can work if a chef’s knife is unavailable, but it may result in uneven cuts.


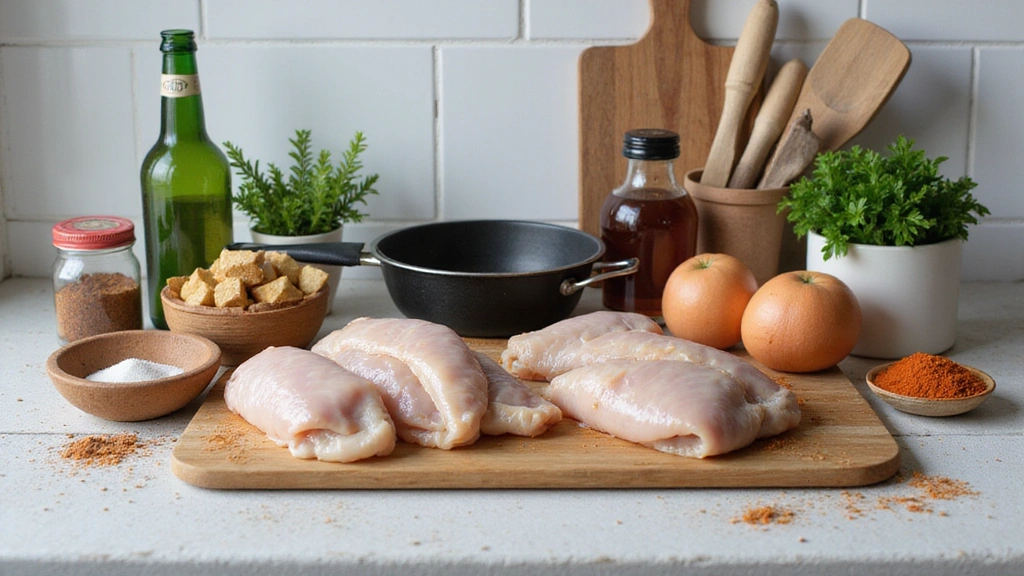
Ingredients
For the Chicken
|
|
| Amount | Ingredient | Notes |
|---|---|---|
| 4 pieces | chicken breasts | boneless, skinless |
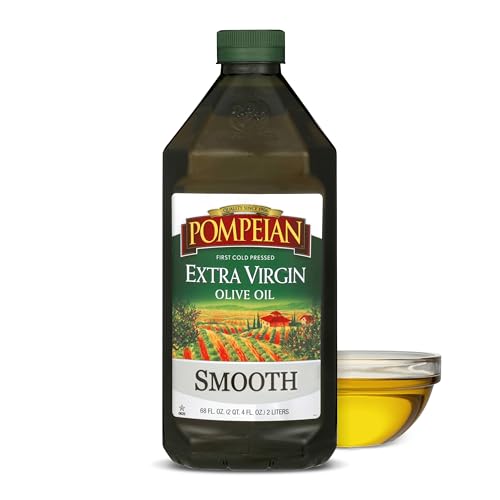
| 2 tablespoons | olive oil | for searing |
Seasonings
| Amount | Ingredient | Notes |
|---|---|---|
| 1 teaspoon | salt | enhances flavor |
| 1/2 teaspoon | black pepper | adds mild heat |
| 1 teaspoon | garlic powder | provides depth |
| 1 teaspoon | paprika | adds color and smokiness |


Preparation Methods
Butterflying: This technique involves slicing the chicken breast horizontally to create a thinner, even piece that cooks more quickly and evenly. To master it, place your hand flat on top of the breast and use a sharp knife to carefully slice through the middle.
Brining: Soaking the chicken breasts in a saltwater solution helps to tenderize the meat and enhance its natural flavors. For optimal results, dissolve 1 tablespoon of salt in 4 cups of water and soak the chicken for at least 30 minutes.
Searing: Achieving a golden brown crust without overcooking the inside is key. Preheat the skillet over medium-high heat, add oil, and sear the chicken for 3-4 minutes per side. The chicken should release easily from the pan when it's ready to flip.


Step 1: Prepare Ingredients
Gather all ingredients and equipment.
Ensure chicken breasts are thawed and at room temperature.
Measure out spices and seasonings.
Set up cooking station for easy access.
Step 2: Butterfly the Chicken
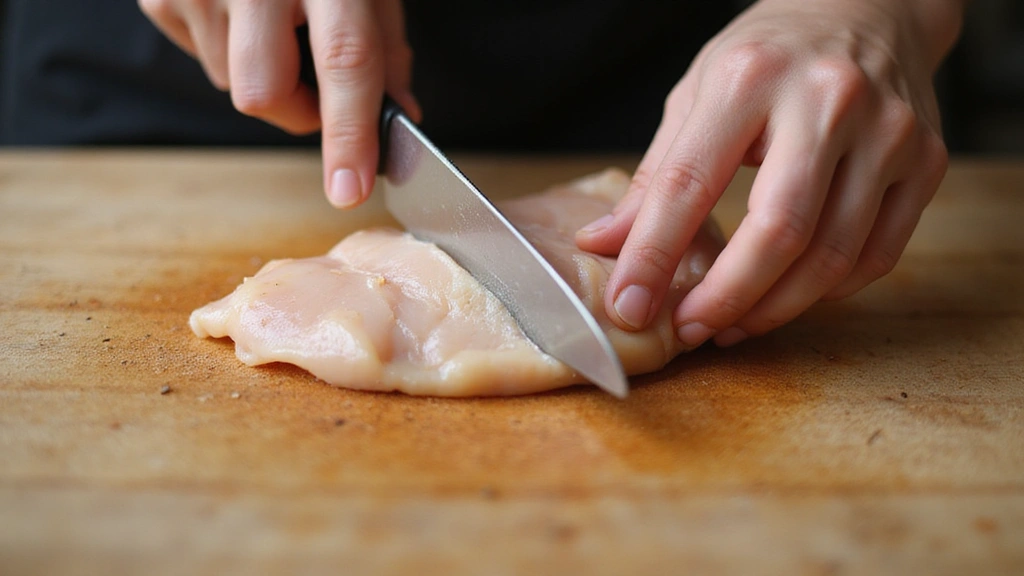
Place the chicken breast on a cutting board.
Use a sharp knife to slice horizontally through the middle.
Stop before cutting all the way through, then open like a book.
Repeat with remaining chicken breasts.


Step 3: Brine the Chicken
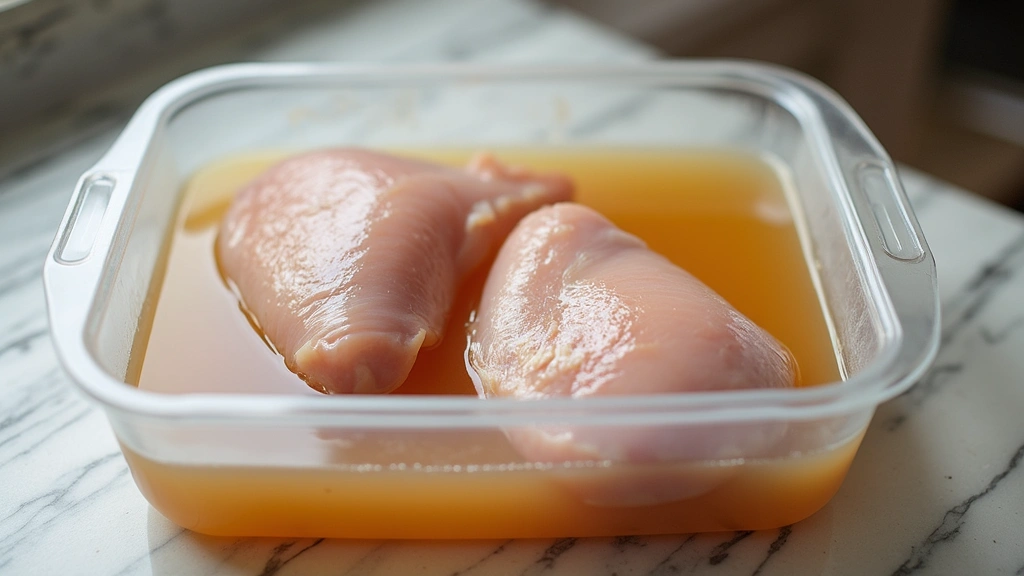
Prepare the brine by dissolving salt in water.
Place chicken breasts in a shallow dish and cover with brine.
Let sit for at least 30 minutes to tenderize.
Remove chicken from brine and pat dry with paper towels.
Step 4: Season the Chicken
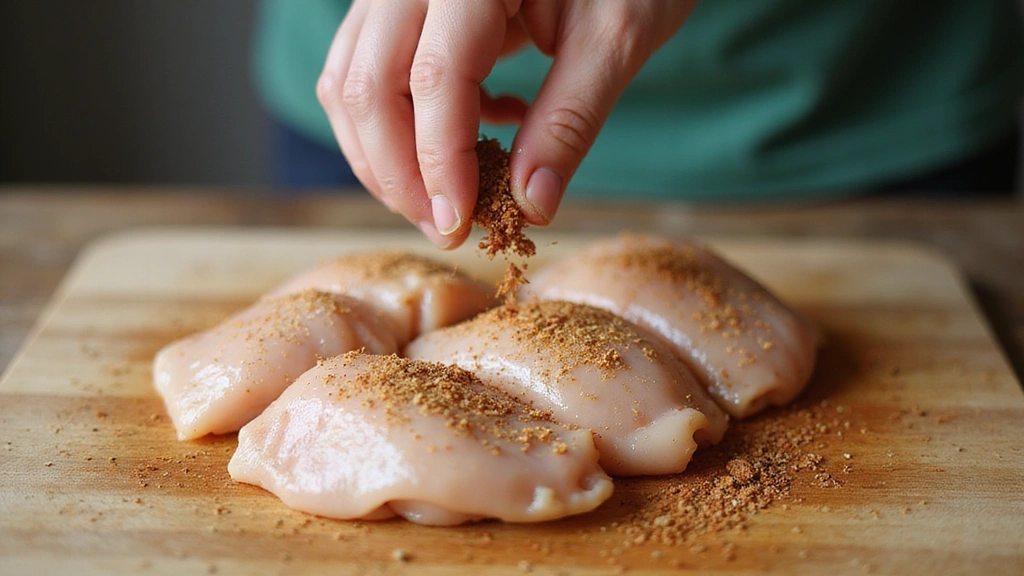
Mix salt, pepper, garlic powder, and paprika in a small bowl.
Evenly sprinkle seasoning mix over both sides of each chicken breast.
Gently pat to adhere the seasonings to the meat.
Ensure all surfaces are coated for even flavor.


Step 5: Preheat Skillet
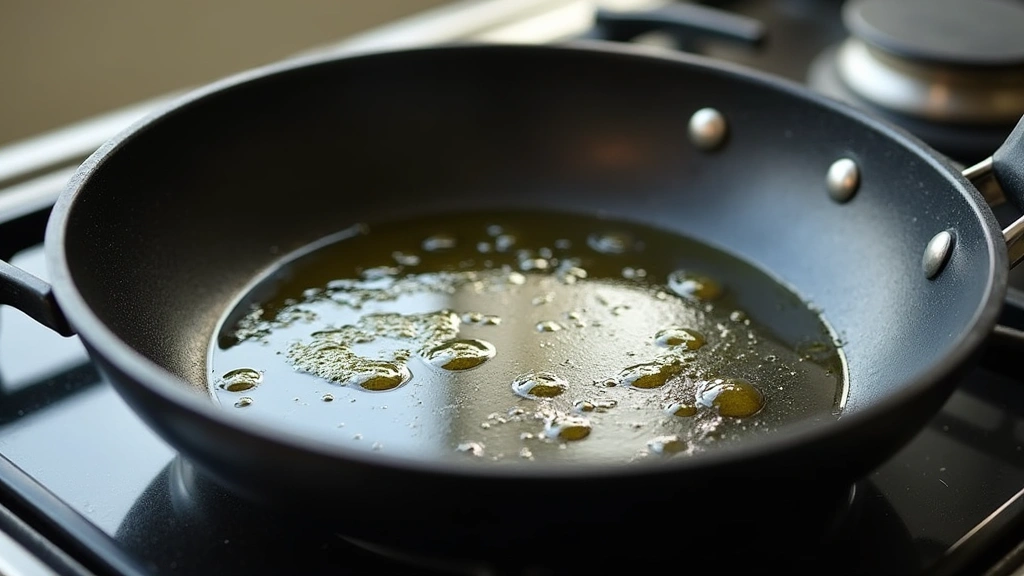
Place a non-stick skillet on the stove over medium-high heat.
Add olive oil and allow it to heat until shimmering.
This ensures a quick sear and prevents sticking.
Adjust heat as necessary to avoid burning the oil.
Step 6: Sear the Chicken
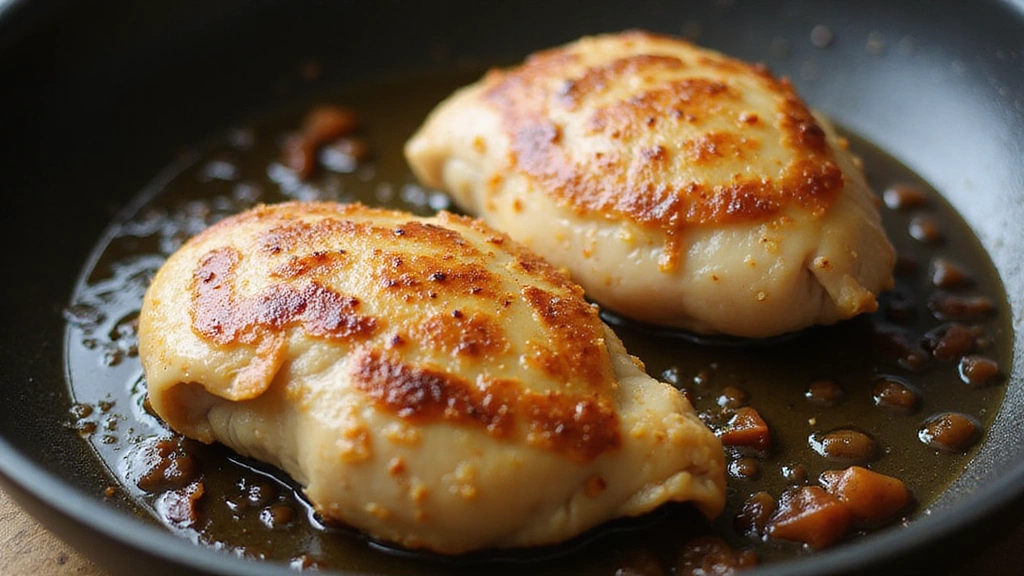
Carefully place chicken breasts in the hot skillet.
Cook for 3-4 minutes without moving to form a crust.
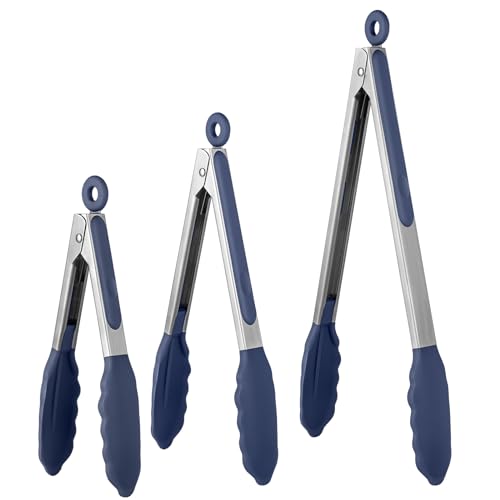
Use tongs to flip each breast when it releases easily.
Sear the other side for another 3-4 minutes.


Step 7: Check Temperature
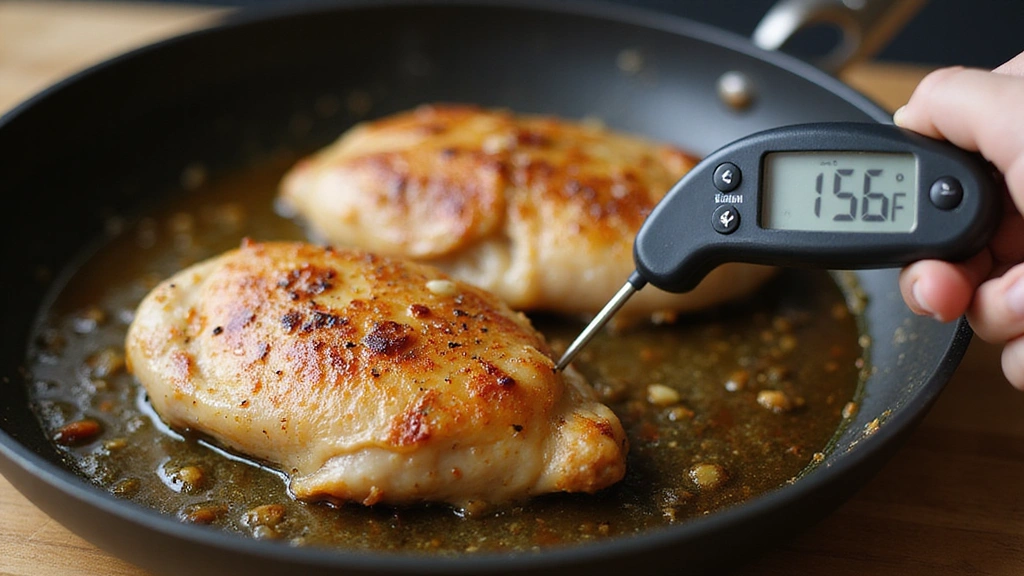
Insert a meat thermometer into the thickest part of the breast.
Ensure the internal temperature reaches 165°F for safety.
If not, continue cooking, checking every minute.
Remove from heat once proper temperature is reached.


Step 8: Rest and Serve
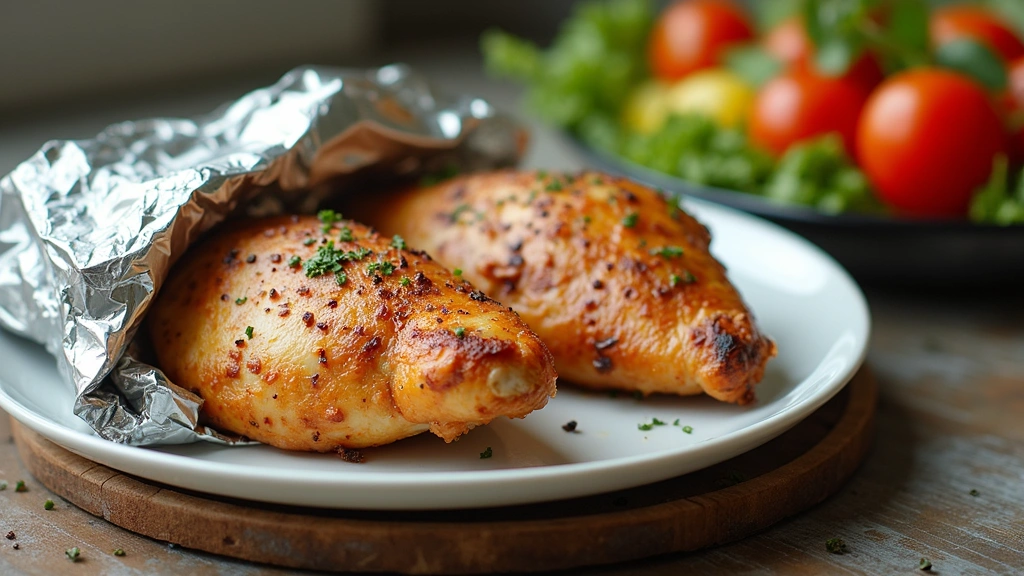
Transfer chicken to a plate and cover loosely with foil.
Allow to rest for 5 minutes to redistribute juices.
This step ensures a juicy, tender result.
Serve immediately with your choice of sides.
Critical Timing and Temperature Guide
Searing: Ensure the skillet is hot enough before adding chicken, and sear each side for 3-4 minutes until golden brown. Avoid overcrowding the pan, as this can lower the temperature and prevent proper searing.
Internal Temperature: Chicken must reach an internal temperature of 165°F. Use a meat thermometer for accuracy. Undercooked chicken poses health risks, while overcooked chicken can be dry.
Resting Period: Allow chicken to rest for at least 5 minutes after cooking to let juices redistribute. Cutting too soon can cause juices to run out, leaving the meat dry.


Pro Tips for Chicken Breast Recipes
• Ingredient Selection: Opt for organic or free-range chicken breasts for the best flavor and texture. These options are less likely to contain added water or preservatives.
• Preparation Secret: Marinating the chicken overnight with a splash of vinegar or citrus can enhance tenderness and flavor depth.
• Temperature Management: Ensure chicken is at room temperature before cooking to promote even cooking and avoid a cold center.
• Texture Enhancement: Lightly pounding the chicken breast can break down fibers, resulting in a more tender texture.
• Flavor Layering: Consider adding fresh herbs like rosemary or thyme during the resting period for an aromatic finish.
• Make-Ahead Strategies: Brine chicken a day in advance and store it in the fridge, saving time on busy cooking days.
• Restaurant-Quality Finishing Touches: Garnish with a sprinkle of flaky sea salt and a drizzle of high-quality olive oil before serving.
• Equipment Optimization: Ensure your skillet and knife are well-maintained for the best results and ease of preparation.
Troubleshooting Common Issues
• Chicken Too Dry: This can result from overcooking or not allowing the chicken to rest. To fix, ensure you use a meat thermometer and rest the chicken as instructed.
• Lack of Flavor: If the chicken is bland, it might not have been seasoned well or marinated long enough. Ensure even seasoning and consider a longer brine.
• Uneven Cooking: This often occurs if the chicken breasts are different thicknesses. Use the butterflying technique to create even pieces.
• Burnt Exterior: If the outside chars while the inside remains uncooked, the heat is too high. Lower the heat and cover the pan to cook through.
• Sticky Pan: If chicken sticks, the skillet might not be hot enough. Ensure oil is shimmering before adding chicken to prevent sticking.
Variations and Regional Differences
• Italian Style: Incorporates herbs like basil and oregano, with a tomato-based sauce, adding a Mediterranean flair.
• Asian-Inspired: Uses soy sauce, ginger, and garlic for a savory umami flavor, often served with rice.
• Southern Fried: Coats chicken in a spiced flour mix before frying, offering a crispy, flavorful crust.
• Middle Eastern: Features spices like cumin and coriander, often paired with yogurt sauce for a refreshing contrast.


Food Science Behind the Recipe
• Maillard Reaction: This chemical reaction between amino acids and reducing sugars gives cooked chicken its distinct, delicious flavor and brown crust.
• Brining Science: The salt in the brine breaks down muscle proteins, allowing water to be absorbed, resulting in juicier meat.
• Heat Transfer: Understanding how conduction works in cooking helps ensure even heat distribution and prevents uneven cooking.
Frequently Asked Questions
What's the most common mistake people make when preparing chicken breast? Overcooking is the most common mistake, leading to dry, tough meat. Using a thermometer can help avoid this.
Can I use frozen chicken breasts? Yes, but they need to be fully thawed before cooking for even results. Thaw in the fridge overnight for best results.
How can I make the chicken more flavorful? Brining, marinating, and using fresh herbs can significantly enhance flavor.
Is it necessary to let the chicken rest? Yes, resting allows juices to redistribute, leading to a juicier end product.
What's the best way to reheat leftovers? Reheat gently in the oven at a low temperature to avoid drying out, or use a microwave with added moisture.
Can I substitute other types of poultry? Yes, turkey breast can be used similarly, though cooking times may vary due to size.
Why did my chicken stick to the pan? The pan wasn't hot enough, or there wasn't enough oil. Ensure the oil is shimmering before adding chicken.
Serving and Presentation Guide
• Traditional Presentation: Serve with a side of roasted vegetables and a lemon wedge for a classic, balanced meal.
• Contemporary Style: Slice chicken into thin strips and arrange over a bed of mixed greens with a drizzle of vinaigrette.
• Family-Style Platter: Present whole chicken breasts on a large platter with assorted seasonal vegetables for a communal meal.
• Bistro Chic: Serve over a mound of creamy mashed potatoes, garnished with fresh herbs for an elevated dining experience.
Conclusion
These quick chicken breast recipes offer simplicity and satisfaction in every bite.
Perfect for any occasion, they combine ease of preparation with delicious results.
I encourage you to try these recipes and make them your own.