Slow Cooker Recipes: Easy Meals, Less Effort!
Family-friendly dishes for busy people — quick prep, delicious results.
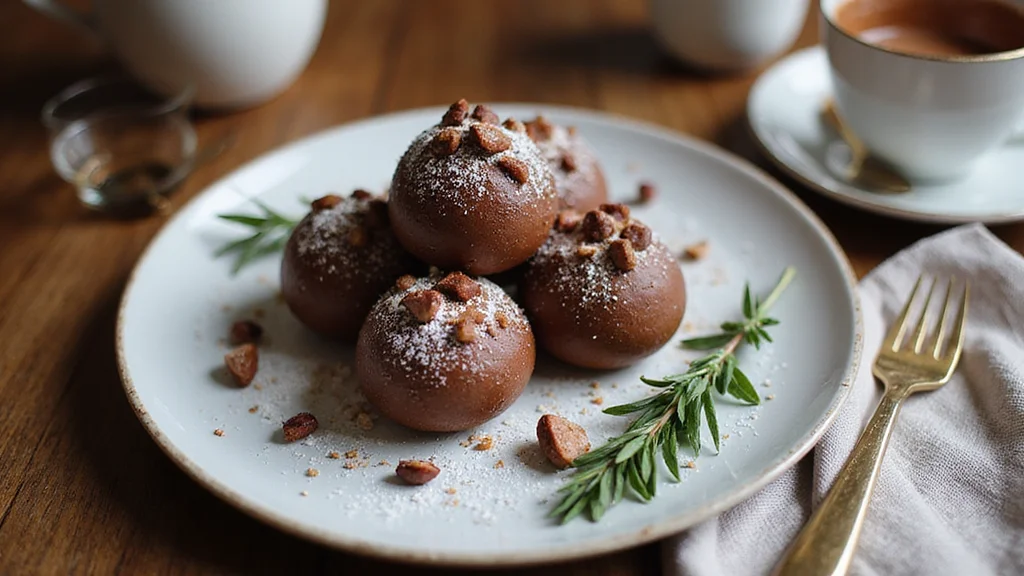
Grab yours for $4The magic of winter is best celebrated with a cup of hot cocoa, but the real fun begins with hot chocolate bombs.
These chocolate spheres explode with flavor, revealing a delightful surprise of cocoa mix and marshmallows inside.
Perfect for cozy nights and festive gatherings, hot chocolate bombs add a touch of excitement to a classic winter drink.
Imagine the joy on your guests’ faces as they watch the bomb melt away in a swirl of creamy chocolate goodness.
Hot chocolate bombs are not just a treat; they are an experience that warms the heart and the soul.
Whether for a quiet evening or a grand holiday party, these treats ensure a memorable moment for everyone.
The History and Cultural Significance
• The best hot chocolate traces its origins to the early Mesoamerican civilizations, where it was originally created by the Mayans as a spicy, frothy beverage.
• The dish evolved over decades as European explorers introduced sugar and milk, eventually becoming the beloved version we know today.
• In many cultures, hot chocolate traditionally appears at winter celebrations and holiday gatherings, symbolizing warmth and togetherness.
• While many variations exist across different regions, the authentic version maintains a rich, velvety texture that sets it apart from imitations.


Recipe Overview
Nutritional Information (per serving)
Essential Equipment Guide
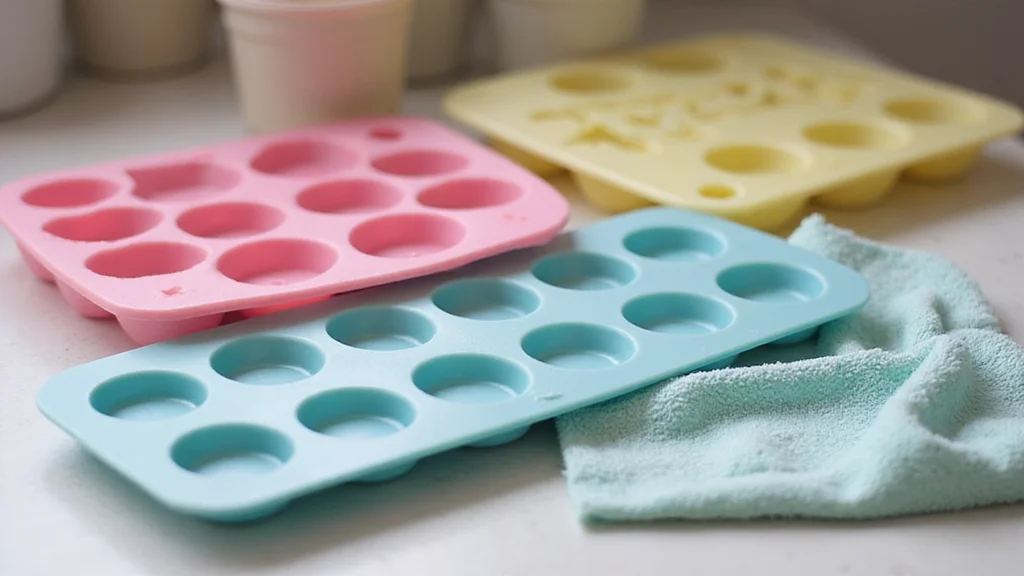
Silicone Sphere Molds: These are crucial for shaping the chocolate into perfect spheres, allowing for easy release without breaking. Alternatives like metal molds can work, but ensure they are non-stick for best results.
Double Boiler: This tool is important for gently melting chocolate without burning it. A microwave can be used as an alternative, but requires careful monitoring to prevent overheating.
Pastry Brush: Essential for evenly coating the molds with chocolate, ensuring a consistent thickness. Look for a brush with soft bristles to avoid scratching the mold.


Ingredients
For the Chocolate Shell
|
|
| Amount | Ingredient | Notes |
|---|---|---|
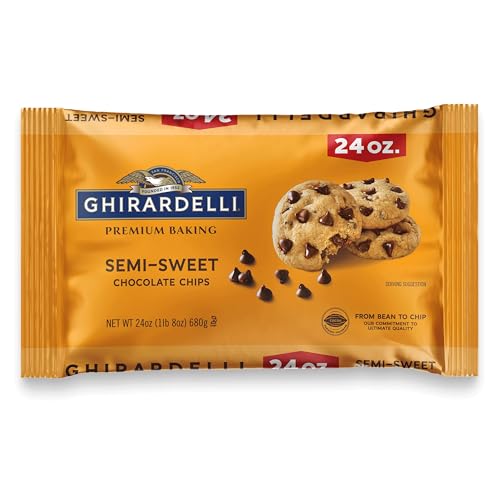
| 2 cups | semi-sweet chocolate chips | for a rich, smooth coating |
For the Filling
| Amount | Ingredient | Notes |
|---|---|---|
| 6 tablespoons | hot cocoa mix | adds sweetness and flavor |
| 1 cup | mini marshmallows | for a delightful surprise |
Optional Add-ins
| Amount | Ingredient | Notes |
|---|---|---|
| 1 teaspoon | cinnamon | for a hint of warmth |
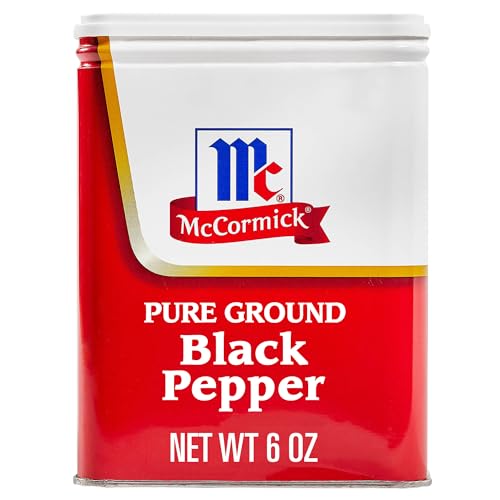
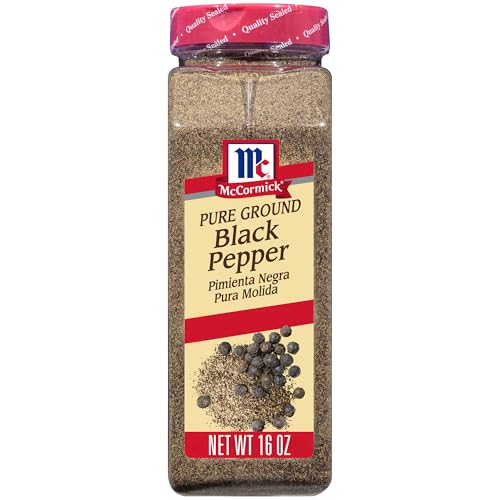
| 1 pinch | cayenne pepper | adds a spicy kick |


Preparation Methods
Tempering Chocolate: This process ensures the chocolate sets with a shiny finish and crisp snap. It involves melting, cooling, and reheating chocolate to stabilize the cocoa butter crystals.
Sealing Chocolate Spheres: Proper sealing is crucial to prevent the filling from leaking. It requires melting the edges of two half-spheres and pressing them together for a tight seal.
Decorating with Drizzles: Adding decorative drizzles of chocolate requires a steady hand and can be mastered by using a piping bag with a small tip for precision.


Step 1: Prepare Molds
Clean and dry your silicone molds thoroughly.
Ensure no water is present as moisture can affect chocolate.
Arrange molds on a flat surface for easy filling.
Preheat your workspace if it's particularly cold to avoid rapid cooling.
Step 2: Melt Chocolate
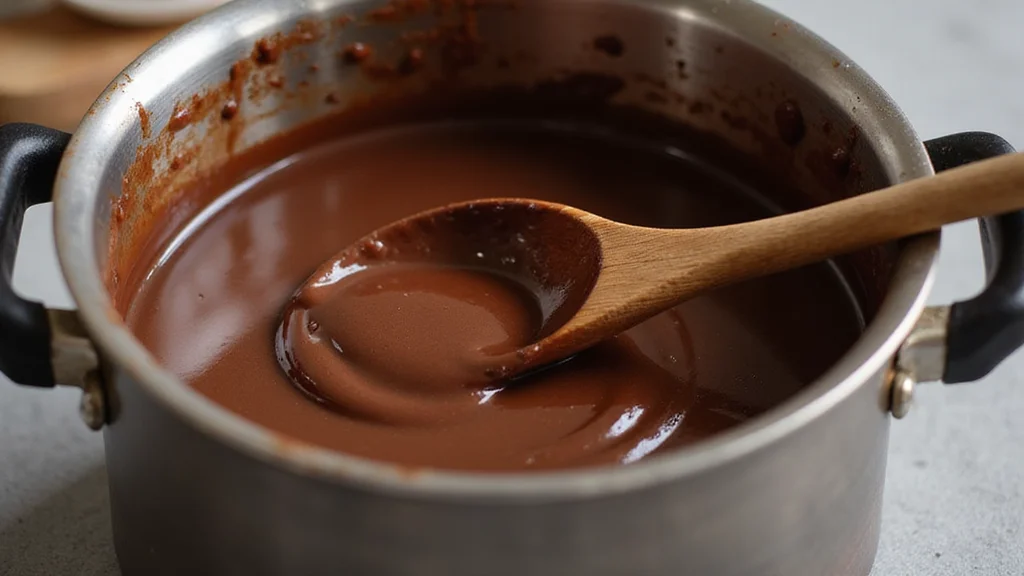
Use a double boiler to gently melt the chocolate chips.
Stir continuously for even melting and to prevent burning.
Once melted, let it cool slightly to thicken.
Ensure chocolate is smooth and glossy before using.
Step 3: Coat Molds
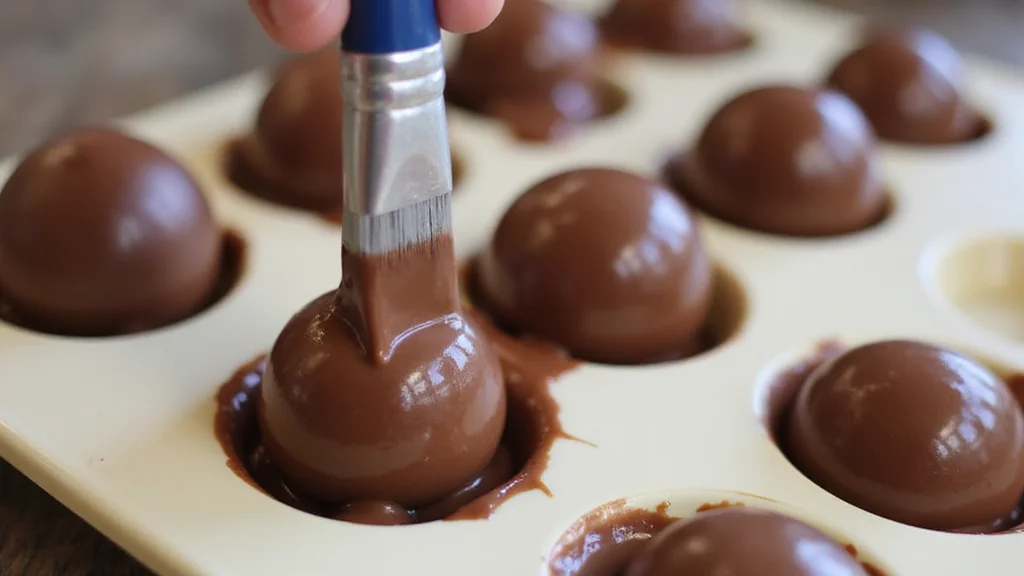
Use a pastry brush to apply a layer of melted chocolate in each mold half.
Make sure to coat evenly to avoid weak spots.
Check for any thin areas and add more chocolate if needed.
Allow to set at room temperature or refrigerate briefly.
Step 4: Add Second Chocolate Layer
Once the first layer is set, apply a second chocolate layer.
Focus on thickening the edges for extra strength.
Inspect for uniformity across all molds.
Let the second layer set completely before proceeding.
Step 5: Remove Chocolate Shells
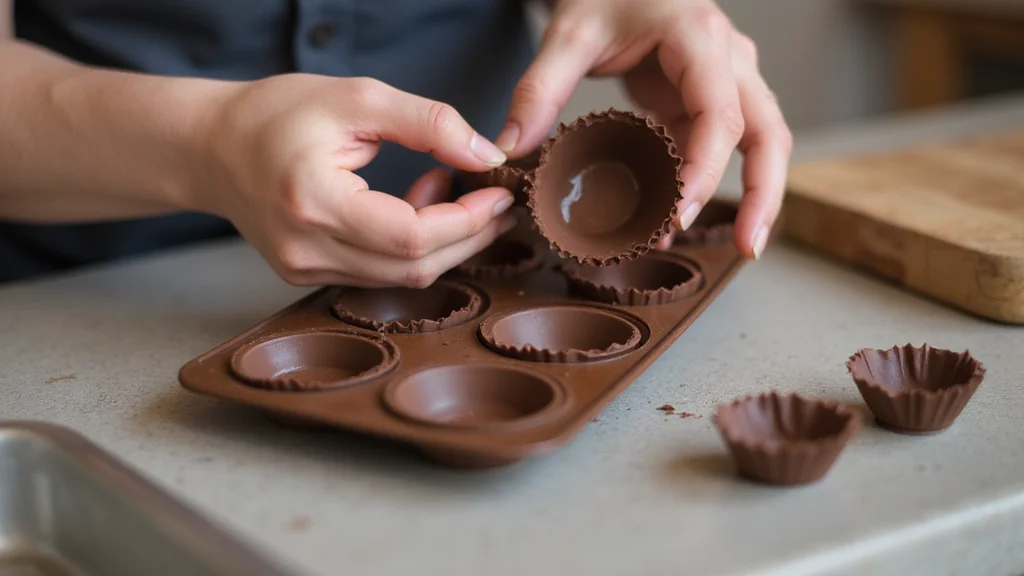
Carefully peel each chocolate half from the mold once set.
Handle gently to avoid cracking or breaking.
Place on a cool, dry surface ready for filling.
Inspect each shell for any flaws or cracks.
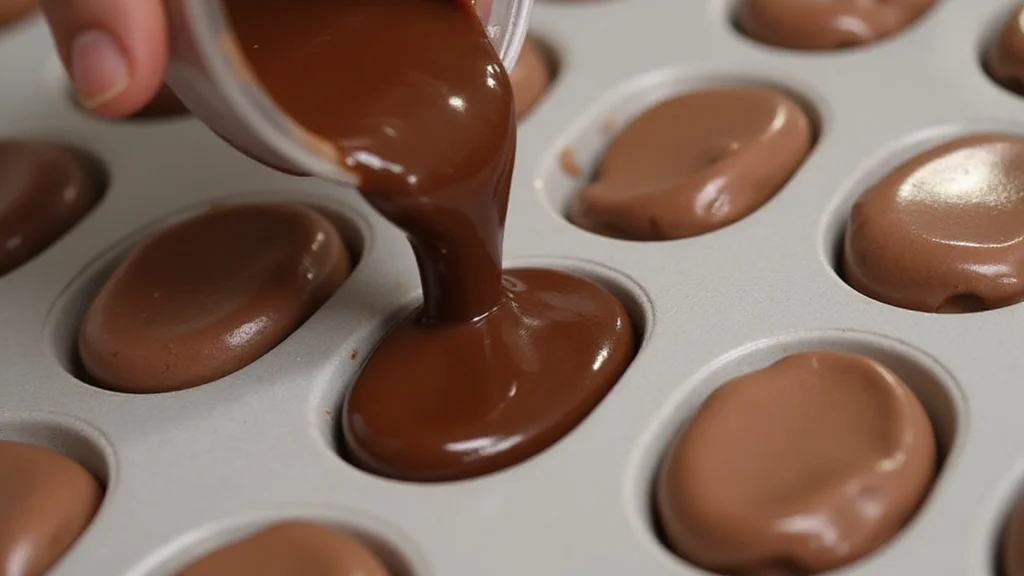
Step 6: Fill Chocolate Shells
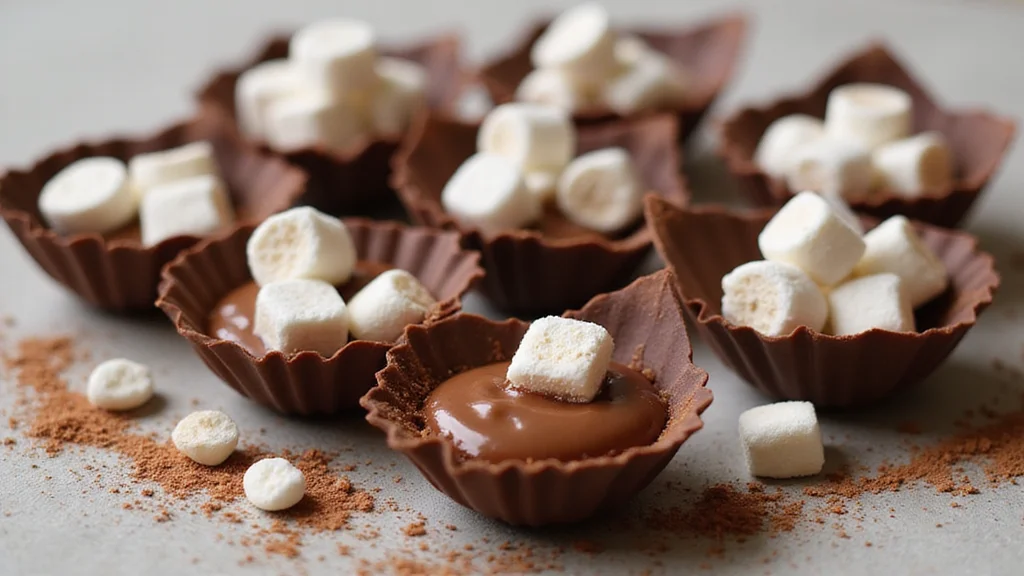
Spoon hot cocoa mix into one half of each chocolate sphere.
Add mini marshmallows and any optional add-ins.
Ensure filling is not over-packed to allow sealing.
Distribute fillings evenly across all shells.
Step 7: Seal Chocolate Shells
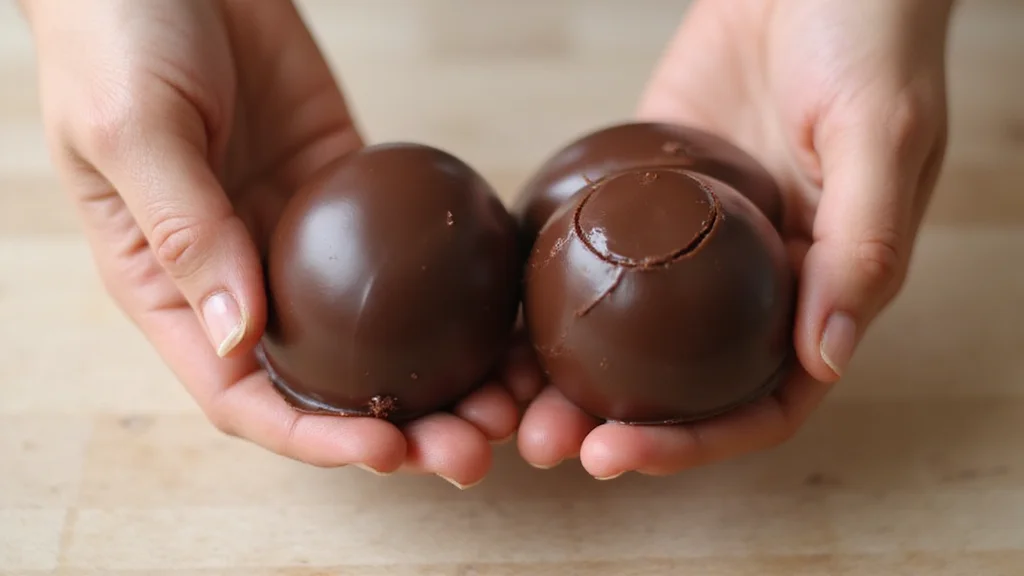
Warm the edges of an empty shell half on a warm surface.
Quickly press it against a filled half to seal.
Hold gently until the chocolate cools and sets.
Ensure the seam is completely closed.
Step 8: Decorate Bombs
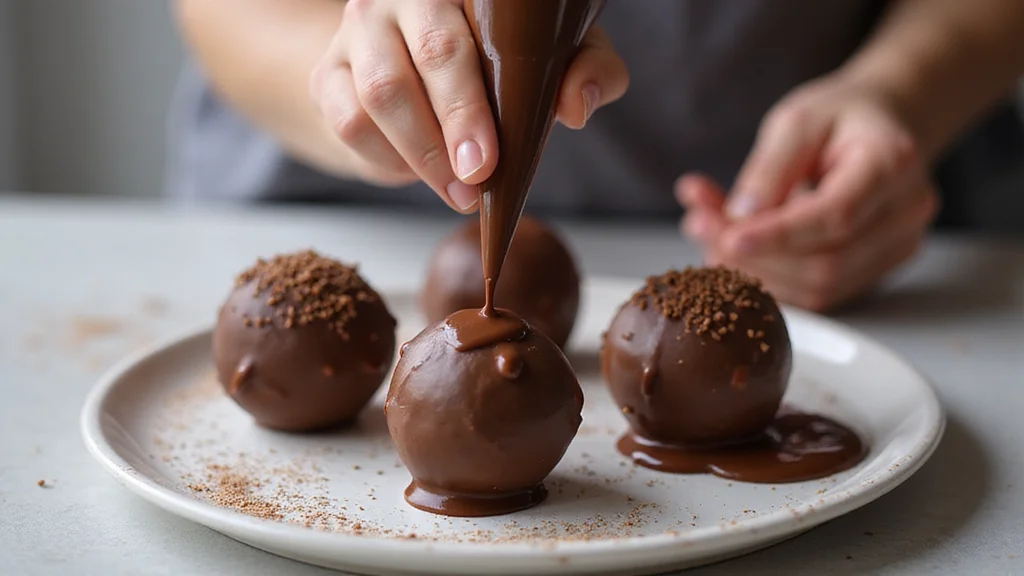
Melt additional chocolate for drizzling decor.
Use a piping bag to create fine lines or patterns.
Allow decoration to set completely before serving.
Get creative with designs or add edible glitter for sparkle.
Critical Timing and Temperature Guide
Melting Chocolate: Keep temperature between 110-115°F for melting, avoiding overheating which causes seizing.
Tempering Chocolate: Cool melted chocolate to 82°F, then reheat to 88-90°F for proper tempering.
Setting Shells: Allow chocolate to set at room temperature for 10-15 minutes or refrigerate for 5 minutes to speed up.
Pro Tips for the Best Hot Chocolate Bombs
• Ingredient Selection: Choose high-quality chocolate with at least 60% cocoa for rich flavor and smooth texture.
• Preparation Secret: Slightly underfill the shells to ensure a strong seal when closing.
• Temperature Management: Keep room temperature stable to prevent chocolate from setting too quickly or slowly.
• Texture Enhancement: Double coating the molds ensures durable shells with satisfying crunch.
• Flavor Layering: Add a touch of sea salt to enhance the chocolate's natural sweetness and depth.
• Make-Ahead Strategies: Store completed bombs in an airtight container at room temperature for up to two weeks.
• Restaurant-Quality Finishing Touches: Dust with cocoa powder or edible gold dust for a luxurious finish.
• Equipment Optimization: Use a warm plate to soften edges for seamless sealing of the chocolate spheres.


Troubleshooting Common Issues
• Chocolate Seizing: Occurs when water gets into melted chocolate, making it grainy. To fix, add a small amount of vegetable oil and stir until smooth.
• Spheres Not Sealing: Ensure edges are warm and slightly melted before pressing halves together.
• Shells Breaking: Make sure chocolate layers are thick enough to support the structure.
• Uneven Coating: Use a pastry brush to ensure even distribution of chocolate in molds.
• Bombs Melting Too Quickly: Keep finished bombs in a cool, dry place away from heat sources.


Variations and Regional Differences
• Mexican Hot Chocolate Bombs: Add cinnamon and chili powder to the cocoa mix for a spicy twist, reflecting traditional Mexican flavors.
• European Style: Use milk chocolate and fill with powdered milk for a creamier, sweeter taste reminiscent of European hot chocolates.
• Vegan Version: Utilize dairy-free dark chocolate and vegan marshmallows for a plant-based treat.
• Mint Chocolate Bombs: Include crushed peppermint candies or extract in the filling for a refreshing, minty flavor.


Food Science Behind the Recipe
• Tempering Chocolate: This process realigns the cocoa butter crystals, resulting in a glossy finish and crisp texture.
• Emulsification: When chocolate is melted, its fats and solids are emulsified, creating a smooth, homogenous mixture.
• Thermal Expansion: The heat from the warm liquid causes the chocolate bomb to expand and crack open, releasing its contents.
Frequently Asked Questions
What's the most common mistake people make when preparing hot chocolate bombs? Overheating the chocolate, leading to a dull finish and poor texture.
Can I use a microwave instead of a double boiler? Yes, but heat in short intervals and stir frequently to avoid burning.
How can I ensure my chocolate spheres are smooth? Properly temper your chocolate to achieve a smooth, glossy finish.
Why are my chocolate shells too thin? Ensure you apply at least two layers of chocolate to the molds.
Can I add flavor extracts to the chocolate? Yes, but use oil-based extracts to prevent seizing.
How do I store leftover hot chocolate bombs? Keep them in an airtight container at room temperature for up to two weeks.
What's the best way to serve hot chocolate bombs? Place in a mug and pour hot milk over the top, stirring to combine.
Serving and Presentation Guide
• Traditional Presentation: Serve in a clear glass mug to showcase the swirling chocolate as the bomb melts.
• Festive Arrangement: Display on a decorative platter surrounded by holiday greenery for a festive touch.
• Gift Packaging: Wrap individually in cellophane with a ribbon for a delightful homemade gift.
• Elegant Display: Set on a tiered cake stand with assorted toppings like whipped cream and candy canes for a party centerpiece.
Conclusion
Hot chocolate bombs offer a delightful way to enjoy a classic comfort drink with a modern twist.
Their interactive preparation and presentation make them a festive addition to any winter celebration.
Try making these delightful treats at home and watch them become a beloved tradition in your household.