Slow Cooker Recipes: Easy Meals, Less Effort!
Family-friendly dishes for busy people — quick prep, delicious results.
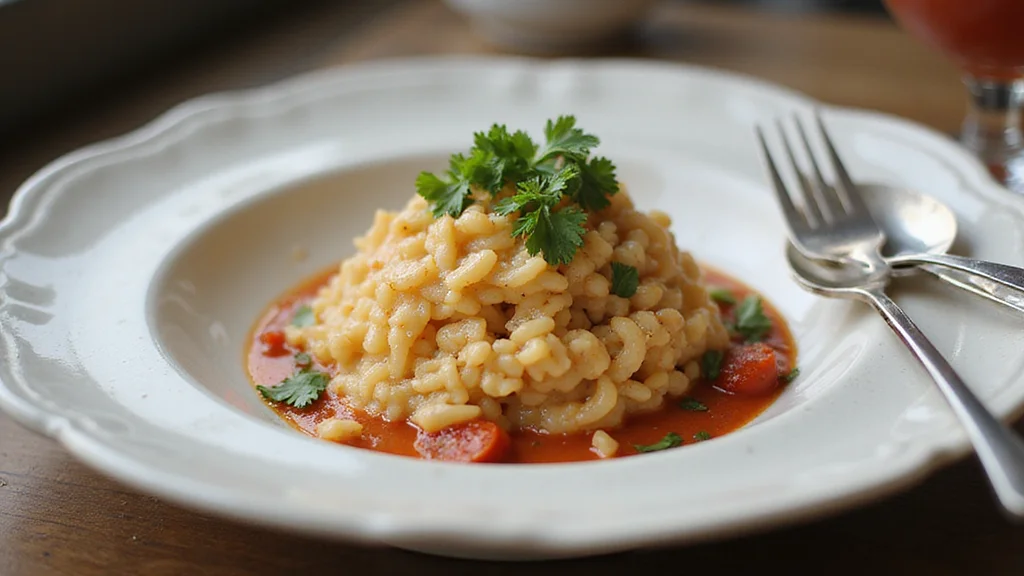
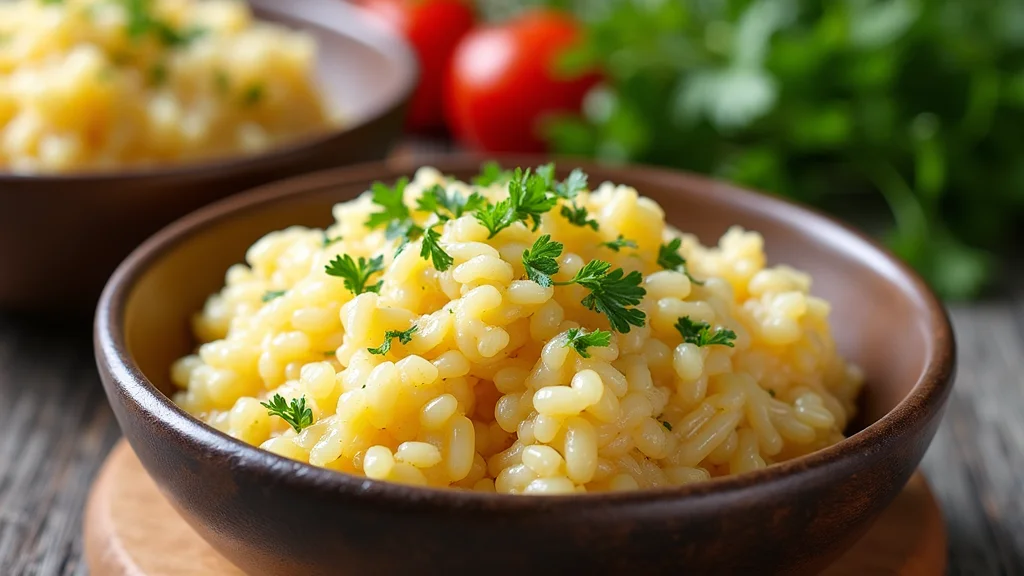
Grab yours for $4This classic Italian Risotto brings together centuries of culinary tradition with modern techniques to create a dish that’s both comforting and elegant.
The harmonious balance of creamy textures and rich flavors creates a memorable dining experience that will have everyone asking for your secret.
I discovered this recipe during my travels through Northern Italy, where local chefs have perfected it through generations of careful refinement.
Whether you’re preparing a casual family dinner or hosting a special celebration, this Italian Risotto delivers impressive results with straightforward preparation.
With each spoonful, you’ll enjoy a comforting blend of flavors that epitomize Italian cuisine.
This dish is perfect for cooler seasons, offering warmth and satisfaction in every bite.
The History and Cultural Significance
• Italian Risotto traces its origins to Northern Italy, specifically the Lombardy and Piedmont regions, where it was originally created by Italian chefs in the 14th century.
• The dish evolved over decades as new varieties of rice were introduced, and cooking techniques became more sophisticated, eventually becoming the beloved version we know today.
• In Italian culture, this dish traditionally appears at family gatherings and festive occasions, symbolizing warmth and hospitality.
• While many variations exist across different regions, the authentic version maintains a creamy consistency achieved through constant stirring, setting it apart from imitations.


Recipe Overview
Nutritional Information (per serving)


Essential Equipment Guide
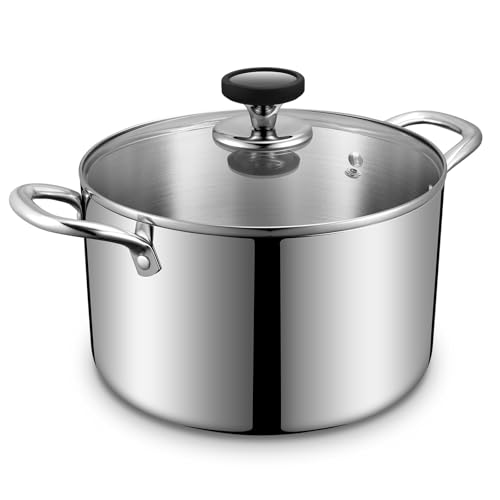
Heavy-bottomed pot: A heavy-bottomed pot is crucial for evenly distributing heat and preventing the risotto from burning or sticking. Alternatives include a Dutch oven or a thick-walled saucepan. Look for pots with a thick base and a tight-fitting lid.
Ladle: A ladle is essential for adding broth gradually, allowing for better control over the risotto’s consistency. A measuring cup can be used as an alternative. Choose one with a comfortable handle for easy use over extended periods.
Wooden spoon: A wooden spoon is ideal for stirring risotto as it doesn’t react with the ingredients and is gentle on the pot’s surface. Silicone spatulas can also work. Select one with a long handle to avoid heat.


Ingredients
For the Base
|
|
| Amount | Ingredient | Notes |
|---|---|---|
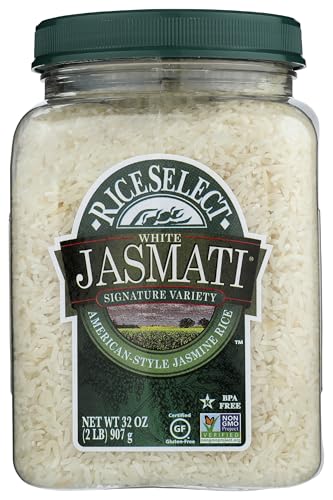
| 1 cup | Arborio rice | provides creamy texture |
| 2 tablespoons | olive oil | adds richness |
For the Broth
| Amount | Ingredient | Notes |
|---|---|---|
| 4 cups | chicken or vegetable broth | warm, to be added gradually |
Vegetables
| Amount | Ingredient | Notes |
|---|---|---|
| 1 medium | onion | finely chopped |
| 2 cloves | garlic | minced |
Seasonings
| Amount | Ingredient | Notes |
|---|---|---|
| 1 teaspoon | salt | enhances flavor |
| 1 teaspoon | black pepper | freshly ground |
Finishing
| Amount | Ingredient | Notes |
|---|---|---|
| 1 cup | Parmesan cheese | grated, for creaminess |
| 2 tablespoons | butter | adds smoothness |
| 2 tablespoons | fresh parsley | chopped, for garnish |


Preparation Methods
Toasting the Rice: Toasting the rice in olive oil before adding liquid helps to develop a nutty flavor and creates a protective coating, allowing the rice to absorb liquid slowly without becoming mushy. Stir constantly to ensure even toasting without burning.
Gradual Liquid Addition: Adding broth gradually is crucial for achieving the creamy texture of risotto. This technique allows the rice to release its starches slowly, creating a natural creaminess. Use warm broth to maintain cooking temperature.
Constant Stirring: Regular stirring helps to release the starch from the rice, contributing to the risotto's signature creamy texture. This technique also prevents the rice from sticking to the bottom of the pot and ensures even cooking.


Step 1: Prepare Ingredients
Gather all ingredients and equipment needed for the risotto.
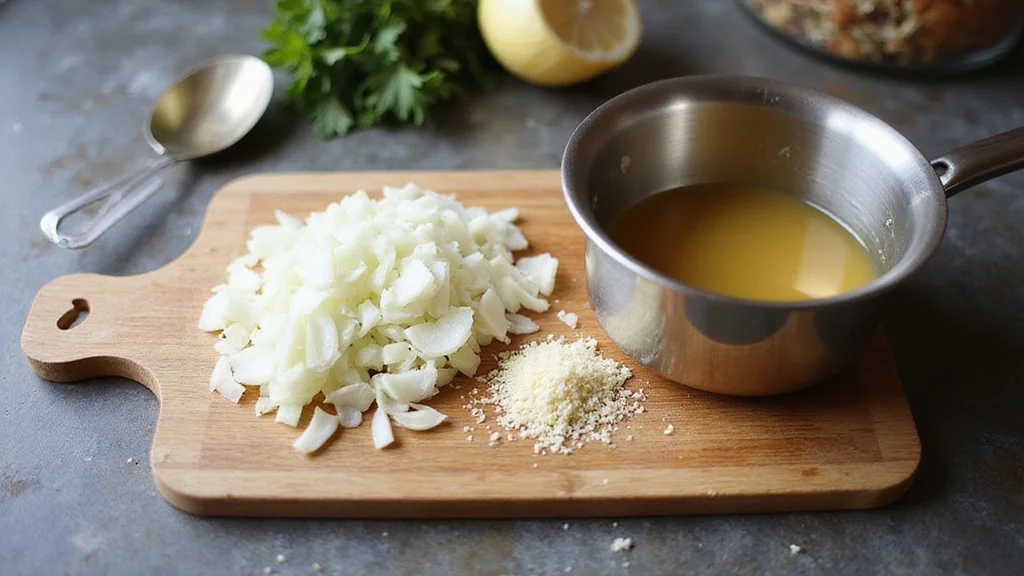
Chop the onion finely and mince the garlic cloves.
Grate the Parmesan cheese and set aside for later use.
Warm the broth in a separate saucepan over low heat.


Step 2: Heat the Oil
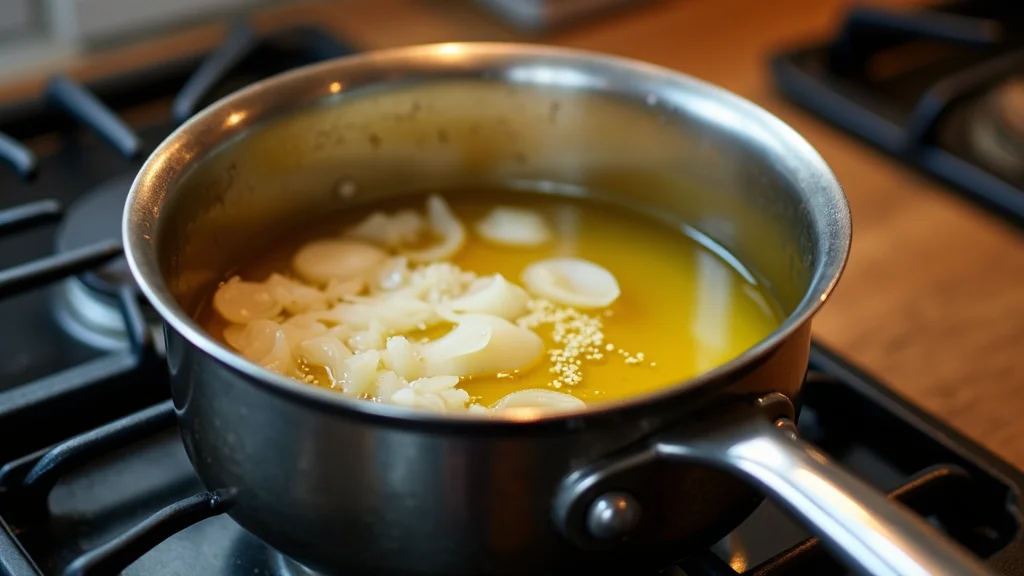
Place a heavy-bottomed pot over medium heat and add the olive oil.
Allow the oil to heat until shimmering but not smoking.
Add the chopped onion and cook until translucent, approximately 3-4 minutes.
Stir occasionally to prevent the onions from browning.


Step 3: Toast the Rice
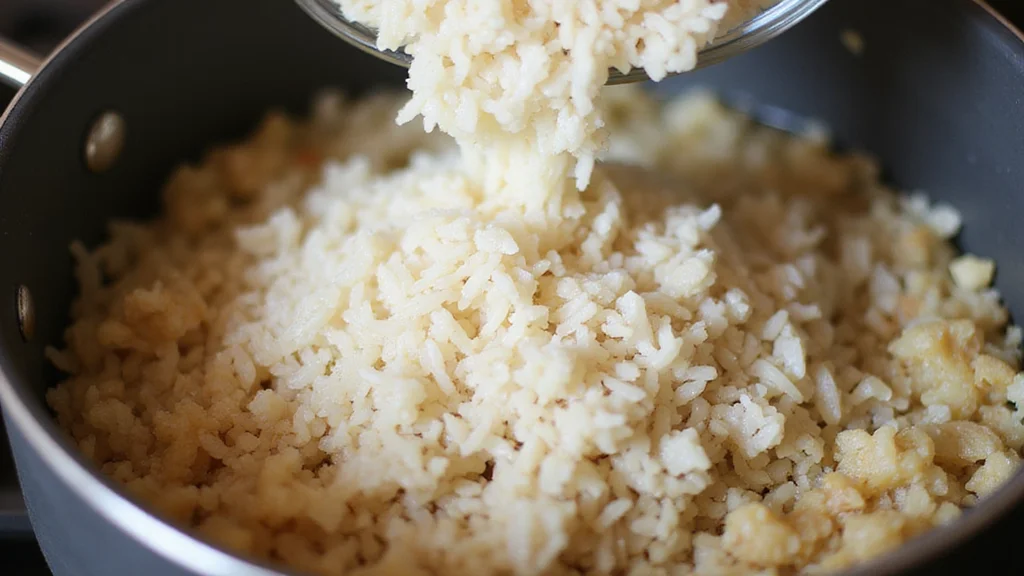
Add the Arborio rice to the pot with the onions.
Stir the rice continuously to coat it with the oil and toast it lightly.
Cook for about 2 minutes, or until the rice edges become translucent.
Ensure even toasting by stirring constantly.
Step 4: Add Garlic
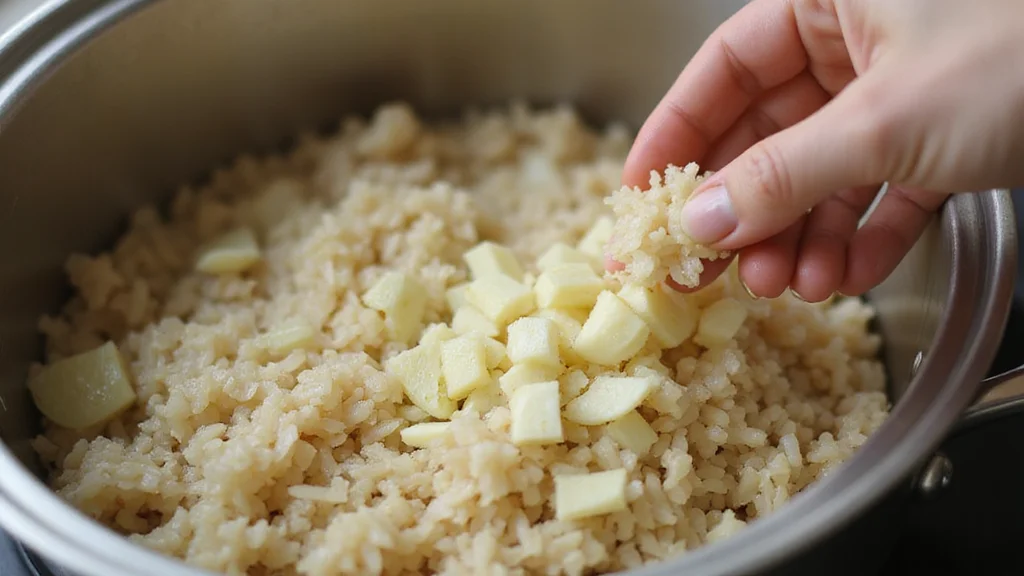
Stir in the minced garlic with the rice and onions.
Cook for an additional 1 minute until the garlic is fragrant.
Be careful not to let the garlic brown, as it will turn bitter.
Keep stirring to blend the flavors together.
Step 5: Begin Adding Broth
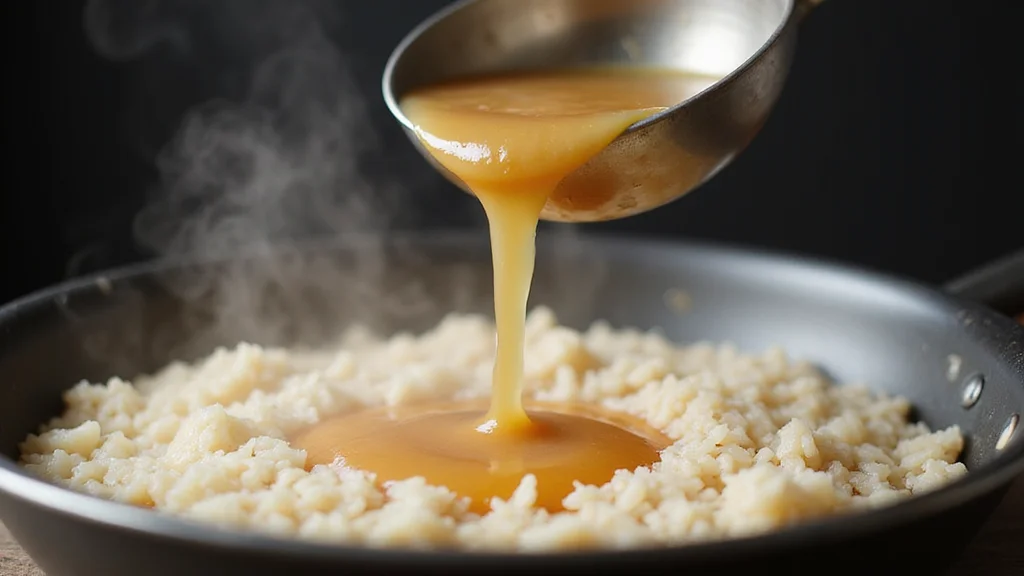
Add a ladleful of warm broth to the rice mixture.
Stir continuously until the liquid is mostly absorbed by the rice.
Maintain a gentle simmer throughout the process.
Continue adding broth one ladleful at a time as it gets absorbed.
Step 6: Continue Cooking

Repeat the process of adding broth and stirring until the rice is creamy and al dente.
This should take about 18-20 minutes, with constant stirring.
Taste the rice occasionally to check for doneness.
Adjust seasoning with salt and pepper as needed.


Step 7: Add Parmesan and Butter
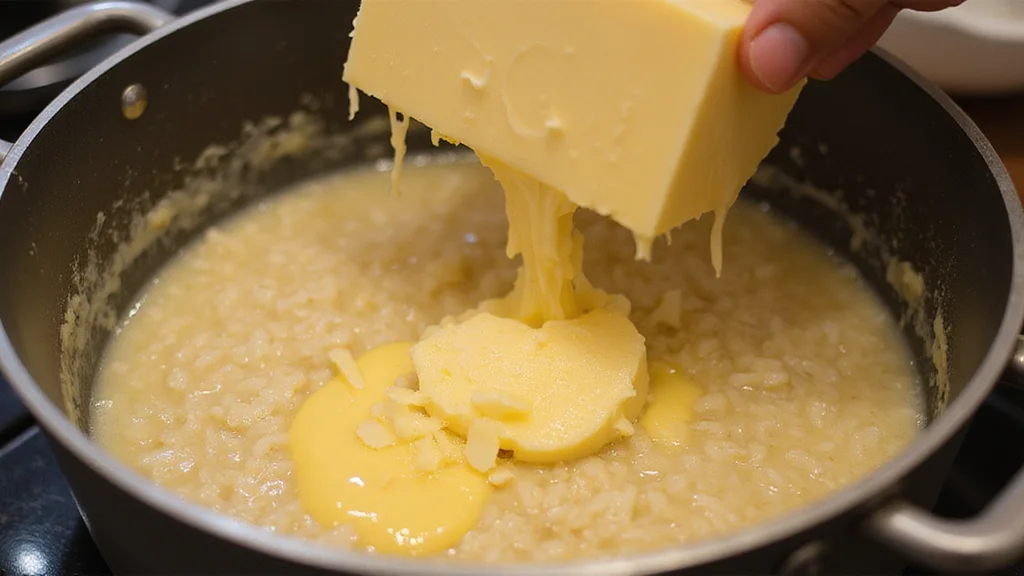
Once the rice is cooked to your liking, remove the pot from heat.
Stir in the grated Parmesan cheese and butter until fully melted and incorporated.
Taste and adjust seasoning if necessary.
The risotto should be creamy and smooth, with a rich flavor.
Step 8: Garnish and Serve
Transfer the risotto to serving bowls immediately while hot.
Garnish with freshly chopped parsley for a burst of color and freshness.
Serve the risotto immediately for the best texture.
Enjoy the creamy, comforting flavors with every spoonful.
Critical Timing and Temperature Guide
Toasting the Rice: Toast the rice for about 2 minutes over medium heat until edges are translucent. Avoid high heat to prevent burning.
Adding Broth: Add broth gradually, allowing each addition to be absorbed before adding more. Maintain a simmer, not a boil, to ensure even cooking.
Final Cooking: The risotto should be cooked for a total of 18-20 minutes. Check for al dente texture as a sign of doneness. Avoid overcooking, which leads to mushy rice.
Pro Tips for Italian Risotto: Creamy
• Ingredient Selection: Use high-quality Arborio rice and authentic Parmesan cheese for the best results, as these ingredients significantly impact the texture and flavor.
• Preparation Secret: Toasting the rice is often overlooked but is crucial for adding depth of flavor and achieving the right texture.
• Temperature Management: Keep the broth warm to maintain a consistent cooking temperature, preventing the rice from cooling with each addition.
• Texture Enhancement: Stir constantly but gently to release starches from the rice, which creates the creamy texture.
• Flavor Layering: Start with a flavorful base by cooking onions and garlic until fragrant, then build complexity with broth and cheese.
• Make-Ahead Strategies: Prepare the broth and chop the vegetables in advance. Store them separately in airtight containers for up to a day.
• Restaurant-Quality Finishing Touches: Finish with a drizzle of high-quality olive oil or a sprinkle of truffle oil for added luxury.
• Equipment Optimization: Use a heavy-bottomed pot to ensure even heat distribution and prevent hot spots that can lead to burning.
Troubleshooting Common Issues
• Texture Too Mushy: Overcooking or adding broth too quickly can lead to mushy risotto. Stir in broth slowly and test the rice for doneness frequently.
• Flavors Unbalanced: If the risotto tastes bland, adjust seasoning with salt and pepper, and ensure the broth used is flavorful.
• Rice Undercooked: If the rice is still hard after cooking, continue adding warm broth in small amounts and cook until the desired texture is reached.
• Risotto Too Thick: If the risotto becomes too thick, add a splash of warm broth or water to loosen it to a creamy consistency.
• Risotto Too Watery: If the risotto is watery, increase the cooking time slightly to allow excess liquid to evaporate, stirring constantly.
• Lack of Creaminess: Ensure constant stirring and gradual addition of broth to help release starch from the rice, creating creaminess.


Variations and Regional Differences
• Milanese Risotto: Includes saffron for a distinctive yellow color and unique flavor, often served with ossobuco in Lombardy.
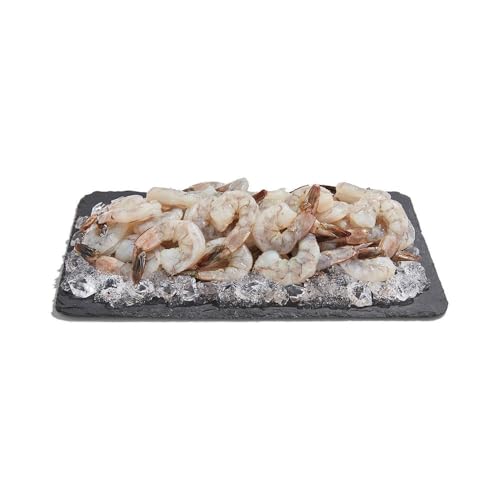
• Seafood Risotto: Incorporates a variety of seafood such as shrimp, mussels, and calamari, prevalent in coastal regions of Italy.
• Mushroom Risotto: Features porcini mushrooms for an earthy flavor, popular in the Northern regions with abundant forests.
• Vegetable Risotto: Utilizes seasonal vegetables like asparagus or zucchini, highlighting fresh produce available in different regions.


Food Science Behind the Recipe
• Starch Release: The constant stirring and gradual broth addition encourage starch release from the Arborio rice, creating a creamy texture.
• Maillard Reaction: Toasting the rice initiates the Maillard reaction, enhancing the depth of flavor with nutty notes.
• Emulsification: The combination of butter and Parmesan cheese at the end acts as an emulsifier, integrating fats and liquids for a smooth consistency.
Frequently Asked Questions
What's the most common mistake people make when preparing Italian Risotto? The most common mistake is adding broth too quickly, which can lead to uneven cooking and a lack of creaminess.
Can I use a different type of rice? While Arborio rice is traditional, other short-grain rice like Carnaroli or Vialone Nano can also be used for similar results.
How do I know when the risotto is done? The risotto is done when the rice is al dente, meaning it should be tender with a slight bite.
Why is my risotto not creamy? Lack of creaminess usually results from insufficient stirring or incorrect rice type. Ensure the rice is stirred constantly and use Arborio rice.
Can I make risotto ahead of time? Risotto is best served fresh. However, you can prepare the base ingredients in advance and finish cooking when ready to serve.
What can I do with leftover risotto? Leftover risotto can be used to make arancini, which are deep-fried risotto balls, a popular Italian snack.
How do I prevent my risotto from sticking? Use a heavy-bottomed pot and stir constantly to prevent sticking and ensure even cooking.
What can I substitute for Parmesan cheese? Grana Padano or Pecorino Romano can be used as a substitute for Parmesan cheese, offering different flavor profiles.
Serving and Presentation Guide
• Traditional Presentation: Serve the risotto in shallow bowls, allowing it to spread slightly for a creamy appearance, garnished with parsley and freshly cracked pepper.
• Rustic Style: Spoon the risotto onto a wooden board or platter, topped with additional cheese shavings and a drizzle of olive oil.
• Elegant Presentation: Use a ring mold to shape the risotto into a neat circle on each plate, topped with a small sprig of fresh herbs for a refined look.
• Family Style: Serve the risotto directly from the pot at the table, encouraging guests to help themselves, enhancing the communal dining experience.
Conclusion
Now that you're equipped with the knowledge to create a Classic Italian Risotto, creamy and comforting, it's time to bring this dish into your kitchen.
With its rich flavors and satisfying textures, this risotto is sure to impress at any meal.
Embrace the art of making risotto and enjoy the process as much as the delightful result.
Gather your ingredients, follow the steps, and indulge in the authentic taste of Italy.