

Slow Cooker Recipes: Easy Meals, Less Effort!
Family-friendly dishes for busy people — quick prep, delicious results.
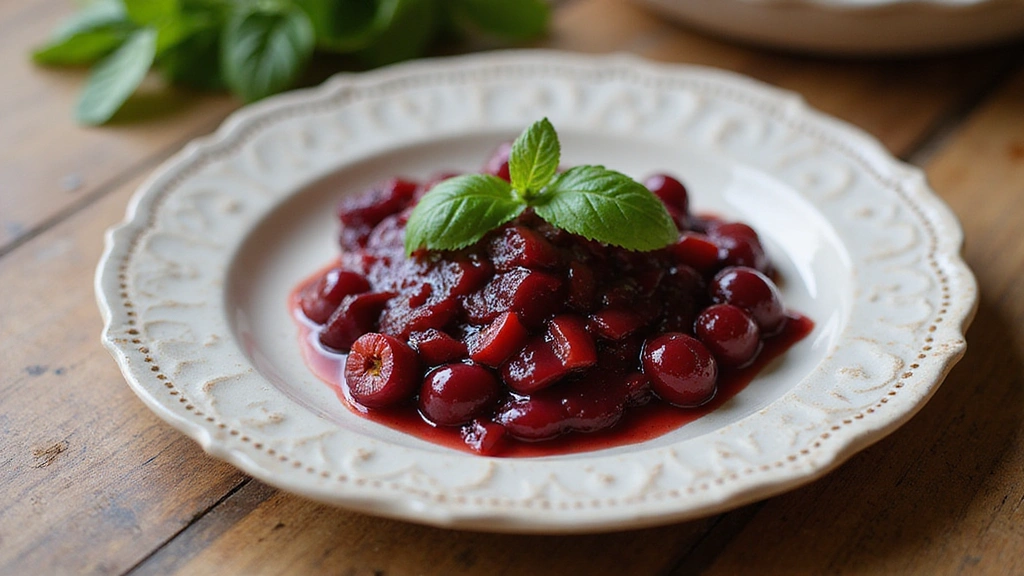
Grab yours for $4This classic Cherry Pie Filling brings together generations of culinary tradition with a modern twist to create a dessert that’s both comforting and vibrant.
The harmonious balance of sweet cherries, tartness, and a hint of almond extract creates a memorable experience that will have everyone asking for your secret.
I discovered this recipe during my travels through Michigan, where local bakers have perfected it through generations of careful refinement.
Whether you’re preparing a casual family dessert or hosting a special celebration, this Cherry Pie Filling delivers impressive results with straightforward preparation.
The History and Cultural Significance
• Cherry Pie Filling traces its origins to medieval England, where it was originally created by combining wild cherries with sugar.
• The dish evolved over decades as sugar became more accessible, eventually becoming the beloved version we know today.
• In the United States, this dish traditionally appears at summer gatherings and Thanksgiving, symbolizing abundance and family togetherness.
• While many variations exist across different regions, the authentic version maintains a glossy finish and rich cherry flavor that sets it apart from imitations.


Recipe Overview
Nutritional Information (per serving)
Essential Equipment Guide
Saucepan: A medium-sized saucepan is important for achieving a smooth, consistent filling. Alternatives like a heavy-bottomed pot may also work, but ensure it distributes heat evenly.
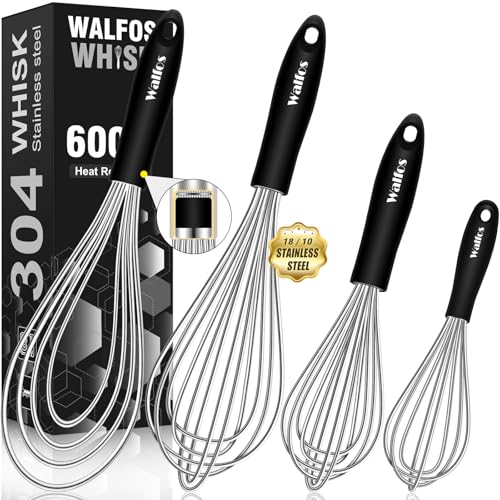
Whisk: A whisk is essential for blending cornstarch without lumps. A silicone whisk is ideal to prevent scratching non-stick surfaces.
Measuring Cups and Spoons: Precise measurements are crucial. Opt for stainless steel or a high-quality plastic set for durability and accuracy.


Ingredients
For the Filling
|
|
| Amount | Ingredient | Notes |
|---|---|---|
| 4 cups | pitted cherries | fresh or frozen |
| 1 cup | granulated sugar | adds sweetness |
| 1/4 cup | cornstarch | thickens the filling |
| 1/4 teaspoon | almond extract | enhances flavor |
| 1 tablespoon | lemon juice | adds tartness |
| 1 pinch | salt | balances sweetness |


Preparation Methods
Macerating Cherries: This technique involves mixing cherries with sugar to draw out their natural juices. It softens the fruit and intensifies the flavor, which is essential for a rich filling.
Thickening with Cornstarch: Cornstarch is a common thickening agent for pie fillings. Dissolve it in cold water before adding to prevent lumps and achieve a smooth consistency.
Simmering: Simmering allows the flavors to meld and the filling to thicken properly. Keep the heat low and stir frequently to avoid scorching.
Step 1: Prepare the Cherries
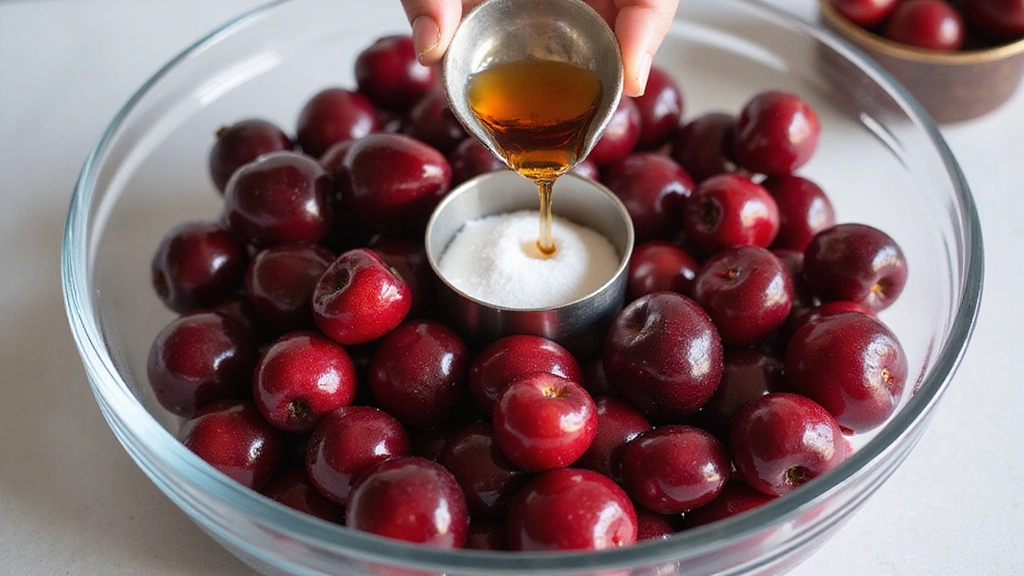
Measure and pit the cherries if using fresh.
Place them in a large bowl.
Add sugar and almond extract to the cherries.
Toss gently to coat the cherries evenly.
Step 2: Macerate the Cherries
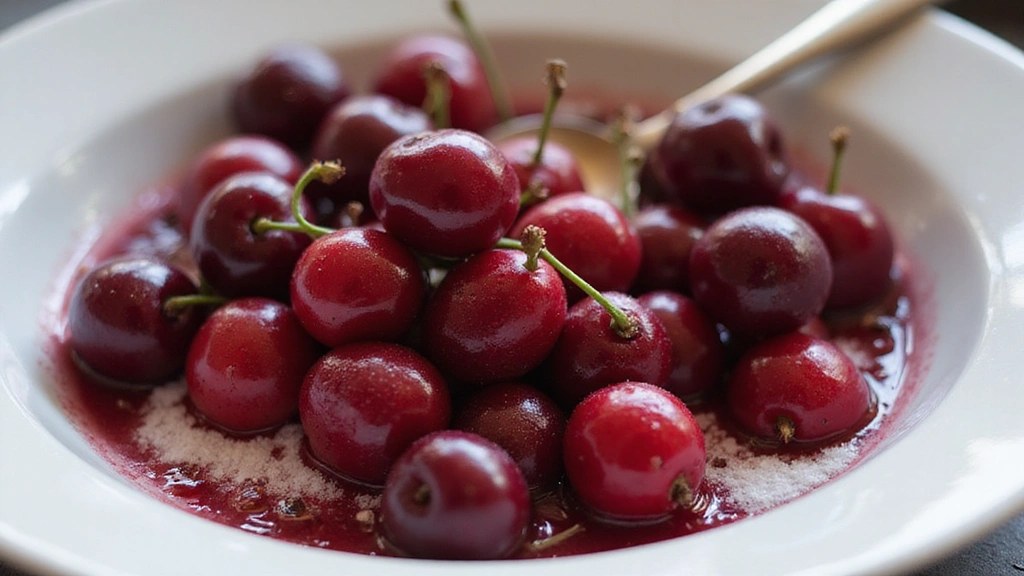
Let the cherries sit for about 20 minutes.
This allows the juices to be drawn out.
Stir occasionally to redistribute the sugar.
The mixture should start to look glossy and juicy.
Step 3: Dissolve Cornstarch
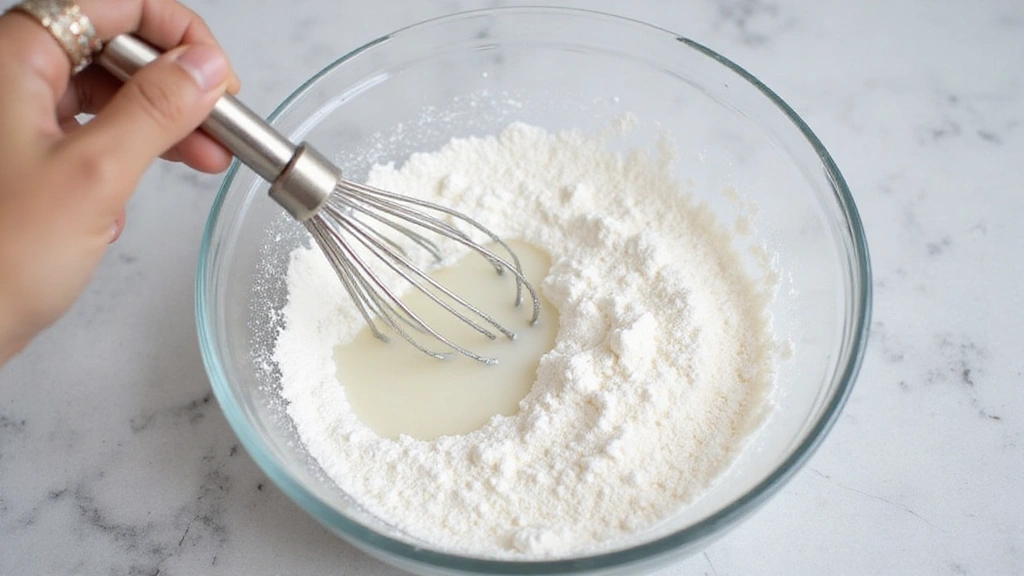
In a small bowl, combine cornstarch with a few tablespoons of water.
Whisk until completely dissolved.
Ensure no lumps remain.
The mixture should be smooth and uniform.


Step 4: Combine Ingredients in Saucepan
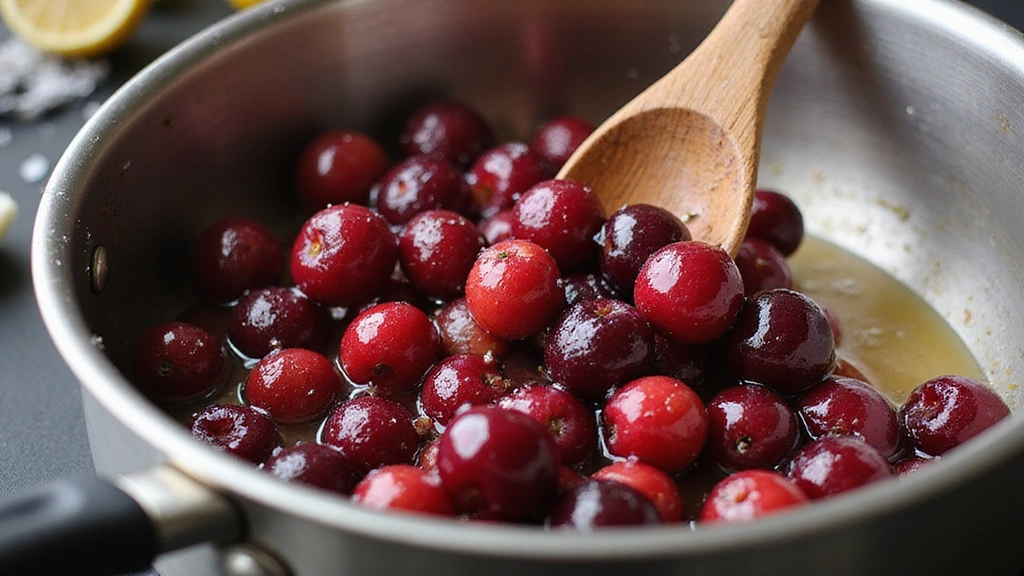
Transfer the macerated cherries to a saucepan.
Add the dissolved cornstarch mixture.
Include lemon juice and a pinch of salt.
Stir to combine all ingredients thoroughly.
Step 5: Heat the Mixture
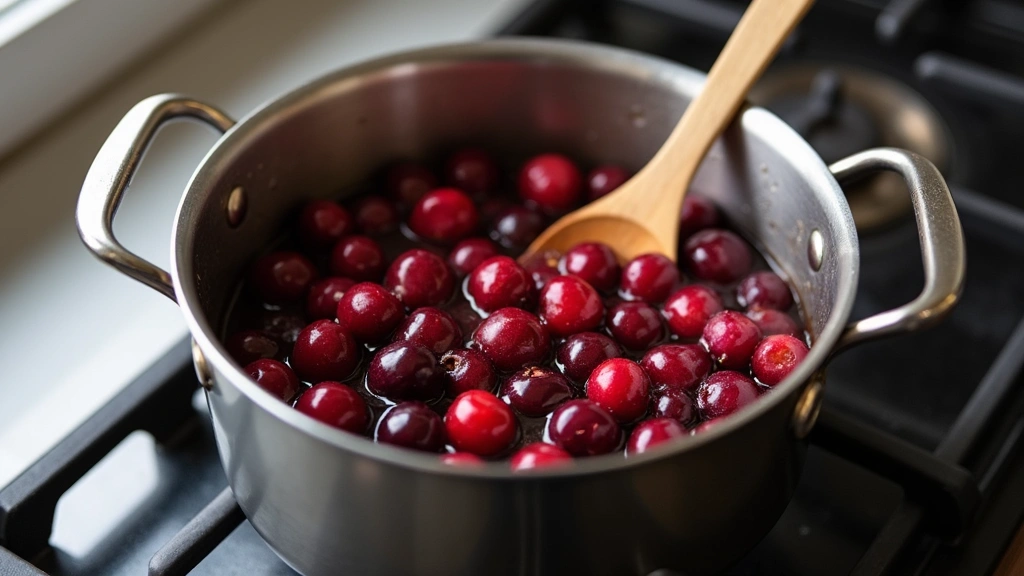
Set the saucepan over medium heat.
Stir constantly to prevent sticking.
Bring the mixture to a gentle simmer.
The cherries should start to soften and the liquid will thicken.
Step 6: Thicken the Filling
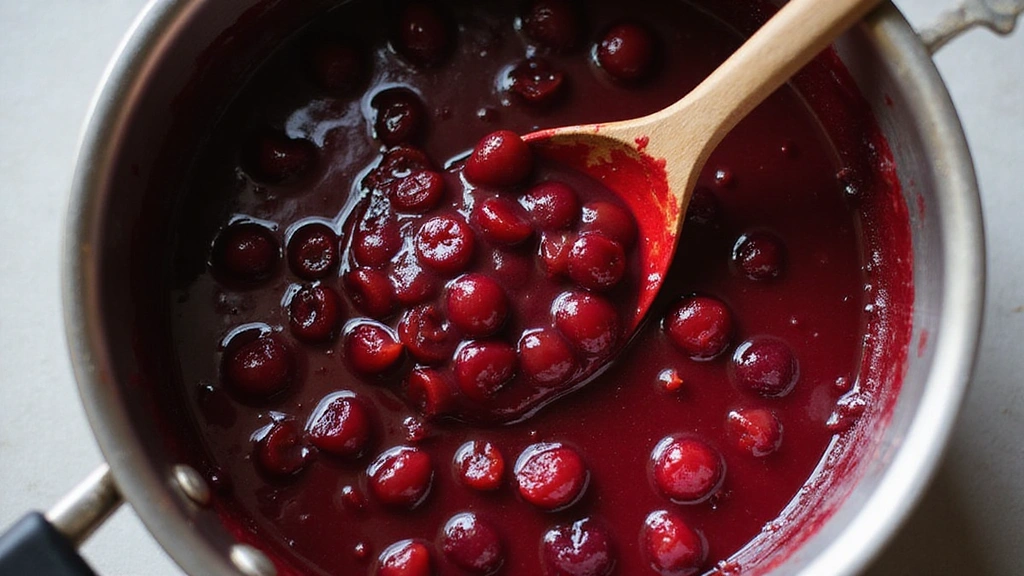
Continue to simmer for 10-15 minutes.
Stir frequently to ensure even thickening.
The filling should become thick and glossy.
Remove from heat once desired consistency is reached.
Step 7: Cool the Filling
Pour the hot filling into a shallow dish to cool.
This helps speed up the cooling process.
Stir occasionally to release heat.
The filling should be at room temperature before using.
Step 8: Store or Use the Filling
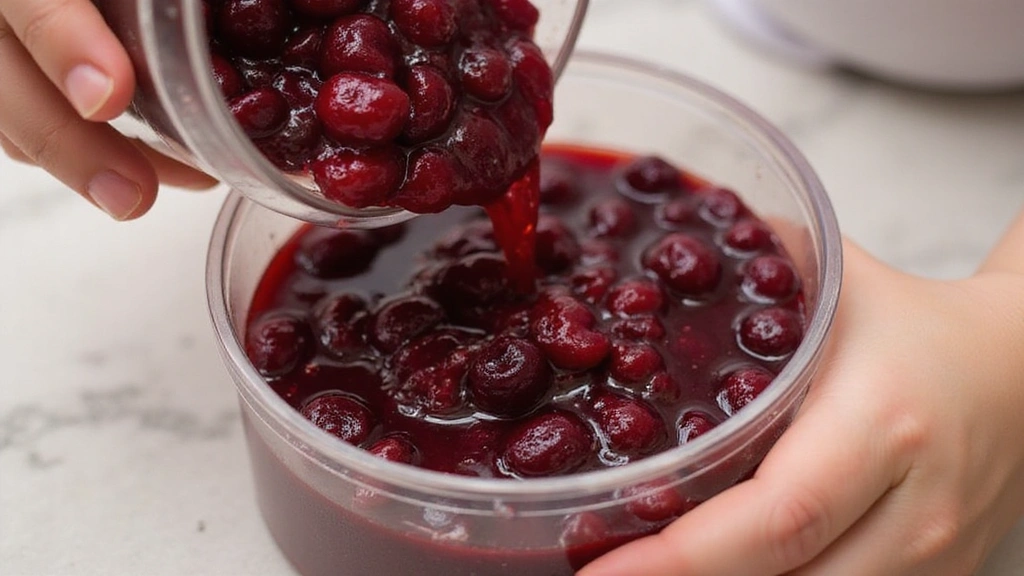
Transfer the cooled filling to a storage container if not using immediately.
Seal tightly to prevent drying out.
Refrigerate for up to a week.
Alternatively, use immediately in a pie crust or as desired.
Critical Timing and Temperature Guide
Macerating Cherries: Let cherries sit for at least 20 minutes. Visual indicators include a glossy, juicy appearance. Avoid leaving them for too long as they may become too soft.
Simmering the Filling: Simmer for 10-15 minutes at medium heat. Look for a thick, glossy consistency. Do not boil, as it may cause the filling to break down.
Cooling the Filling: Allow to cool to room temperature before use. Stir occasionally to release heat. Do not cover while hot, as it may trap steam and alter consistency.
Pro Tips for Cherry Pie Filling
• Ingredient Selection: Choose ripe, firm cherries for the best flavor. Tart cherries add a nice contrast, while sweet cherries offer natural sweetness.
• Preparation Secret: Add a pinch of salt to enhance the sweetness and balance flavors.
• Temperature Management: Use room temperature cherries to ensure even cooking and better juice extraction.
• Texture Enhancement: Stir frequently while simmering to achieve a smooth, lump-free texture.
• Flavor Layering: Incorporate almond extract for depth and complexity that complements the cherries.
• Make-Ahead Strategies: The filling can be made up to a week in advance and stored in the refrigerator.
• Restaurant-Quality Finishing Touches: Brush the top of your pie with a bit of sugar for a glistening finish.
• Equipment Optimization: Use a heavy-bottomed saucepan to prevent hot spots and ensure even heat distribution.
Troubleshooting Common Issues
• Filling Too Runny: This can be caused by insufficient cornstarch or not cooking long enough. Reheat and add a slurry of cornstarch and water to thicken.
• Filling Too Thick: If over-thickened, add a splash of water or cherry juice and stir until desired consistency is reached.
• Burnt Taste: This results from cooking at too high a temperature. Always stir and monitor closely to prevent scorching.
• Lumpy Texture: Caused by undissolved cornstarch. Ensure cornstarch is fully dissolved in cold water before adding.
• Lack of Flavor: A result of unripe cherries or insufficient flavoring. Add a bit more almond extract or lemon juice to enhance.
Variations and Regional Differences
• American Style: Often incorporates a lattice crust on top and uses sweet cherries with added sugar for a balanced sweetness.
• European Style: Uses tart cherries and less sugar, focusing on a more natural fruit flavor with a crumbly crust.
• Rustic French Clafoutis: A variation that bakes the filling with a custard-like batter, creating a dense, flan-like dessert.
• Midwest Variation: Incorporates spices like cinnamon and nutmeg for a warm, comforting taste.
Food Science Behind the Recipe
• Thickening with Cornstarch: Cornstarch gelatinizes when heated, thickening the liquid. Understanding this helps achieve the perfect consistency.
• Maceration Process: Drawing out juices through sugar helps to soften the fruit and concentrate flavors, enhancing the cherry taste.
• Flavor Development: Cooking the filling allows the sugars to caramelize slightly, adding depth and complexity to the flavor profile.
Frequently Asked Questions
What's the most common mistake people make when preparing Cherry Pie Filling? The most common mistake is not allowing enough time for the filling to thicken, leading to a runny pie.
Can I use frozen cherries for this recipe? Yes, frozen cherries work well. Just ensure they are thawed and drained before using.
How can I make the filling less sweet? Reduce the sugar by 1/4 cup and add a bit more lemon juice to balance the flavors.
What can I substitute for cornstarch? Arrowroot or tapioca starch can be used as alternatives, but adjust the amounts as they thicken differently.
Why did my filling turn out lumpy? This occurs if the cornstarch isn't fully dissolved. Always mix with cold water first for a smooth addition.
How should I store leftover filling? Store in an airtight container in the refrigerator for up to a week or freeze for longer storage.
Can I double the recipe? Yes, simply double all the ingredients. However, adjust cooking time as needed for the larger volume.
Serving and Presentation Guide
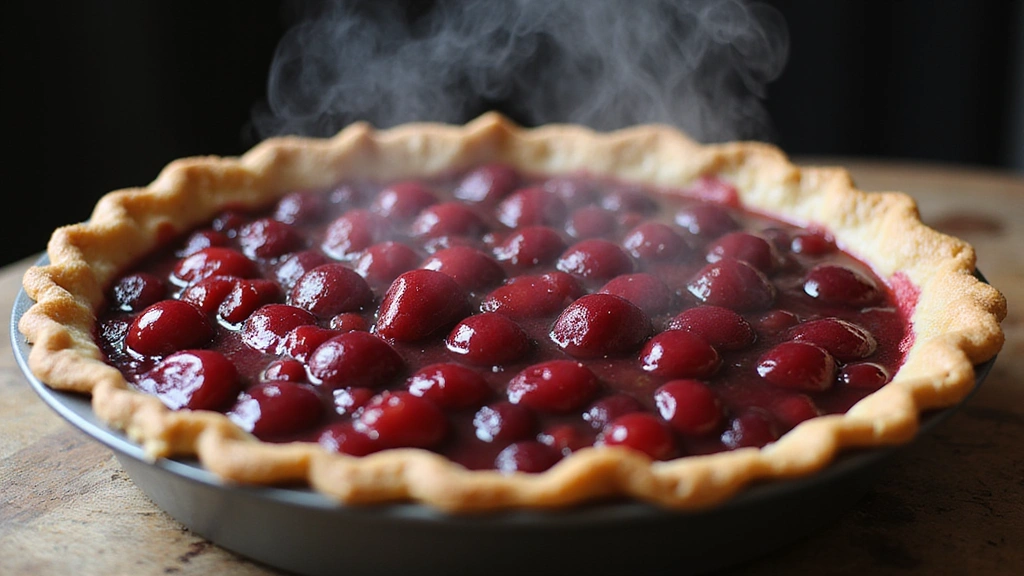
• Traditional Presentation: Serve in a classic pie crust, topped with a lattice or full crust, baked to golden perfection.
• Rustic Presentation: Spoon over vanilla ice cream or yogurt for a simple, elegant dessert.
• Modern Twist: Layer in a parfait glass with whipped cream and graham cracker crumbs for a deconstructed pie look.
• Simple Serving: Serve as a topping for pancakes or waffles for a delightful breakfast treat.


Conclusion
With its rich flavors and beautiful presentation, homemade Cherry Pie Filling is a dessert that impresses with every bite.
Whether you're celebrating a special occasion or simply indulging in a sweet treat, this recipe is sure to be a hit.
Try it today and discover the perfect balance of sweet and tart that only fresh cherries can provide.


