


Slow Cooker Recipes: Easy Meals, Less Effort!
Family-friendly dishes for busy people — quick prep, delicious results.
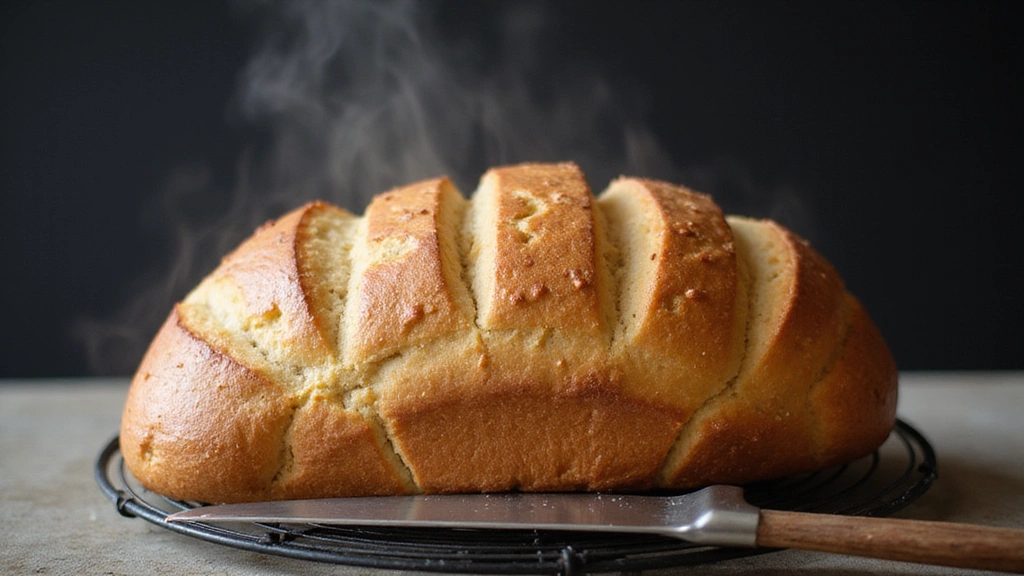
Grab yours for $4The aroma of freshly baked bread wafting through the house is a universal comfort.
Using a bread machine transforms what used to be a meticulous task into a straightforward, enjoyable activity.
With just a few simple ingredients and the press of a button, homemade bread becomes accessible to everyone.
This recipe captures the essence of freshly baked bread with minimal effort and maximum flavor.
Whether it’s for breakfast, lunch, or dinner, this bread machine recipe will surely become a staple in your kitchen.
The History and Cultural Significance
• Bread Machine Recipes, traces its origins to the late 20th century, where it was originally created by innovative home cooks seeking convenience.
• The dish evolved over decades as bread machines became more sophisticated, incorporating settings for various bread types.
• In modern culture, this dish traditionally appears at family gatherings and weekend brunches, symbolizing warmth and togetherness.
• While many variations exist across different regions, the authentic version maintains simplicity and the comforting aroma of freshly baked bread that sets it apart from imitations.
Recipe Overview
Nutritional Information (per serving)


Essential Equipment Guide
Bread Machine: The cornerstone of this recipe, a bread machine simplifies the bread-making process by automating kneading, rising, and baking. Look for machines with multiple settings for different bread types.
Measuring Cups and Spoons: Precision is key in baking, so accurate measuring tools are essential for consistent results. Digital scales can be a great alternative, offering even more precision.
Spatula: A sturdy spatula helps in scraping down the sides of the bread machine pan to ensure even mixing. Silicone spatulas are heat-resistant and flexible, making them a good choice.


Ingredients
For the Dough
|
|
| Amount | Ingredient | Notes |
|---|---|---|
| 3 cups | bread flour | provides structure and chewiness |
| 1 tablespoon | sugar | activates yeast and adds slight sweetness |
| 1 1/2 teaspoons | salt | enhances flavor |
| 1 cup | warm water | activates yeast |
| 2 1/4 teaspoons | active dry yeast | leavens the bread |
| 2 tablespoons | olive oil | adds richness and moisture |


Preparation Methods
Yeast Activation: Begin by dissolving yeast in warm water with a pinch of sugar to 'proof' it. This step is crucial for confirming the yeast is alive and effective. Aim for water at 110°F (43°C) for optimal activation.
Dough Kneading: Although the bread machine does this for you, understanding the process helps. Kneading develops gluten, which is vital for texture. If you ever need to knead by hand, fold, push, and rotate the dough repeatedly.
Rising and Punching Down: Letting the dough rise until doubled in size allows yeast to ferment, developing flavor. Punching it down releases built-up gas and redistributes yeast cells, sugars, and moisture.
Step 1: Prepare Ingredients
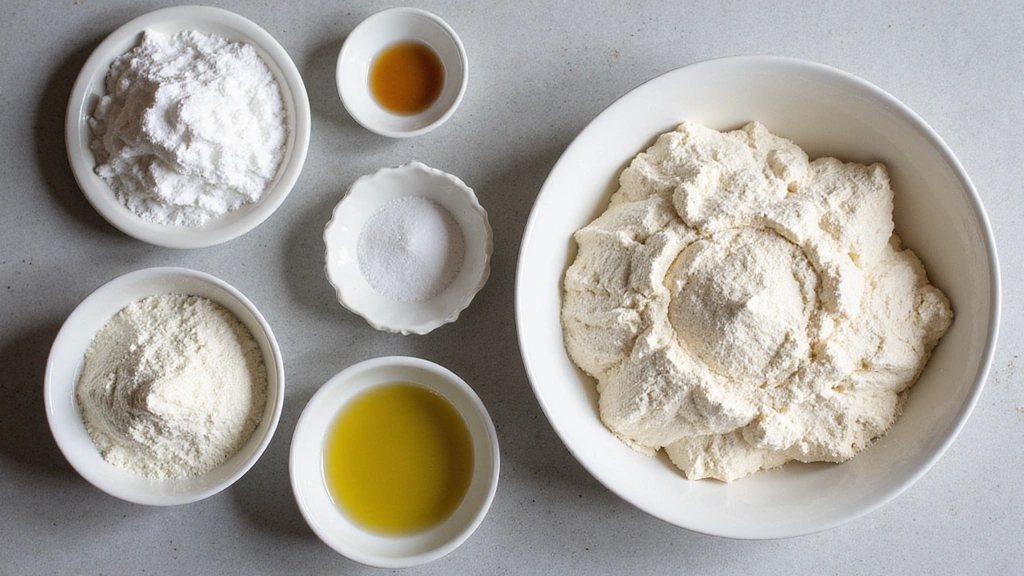
Measure out all ingredients accurately using measuring cups and spoons.
Ensure your water is warm but not hot to touch, around 110°F.
Gather all ingredients near your bread machine for easy access.
Check that your yeast is fresh and active.
Step 2: Add Ingredients to Bread Machine
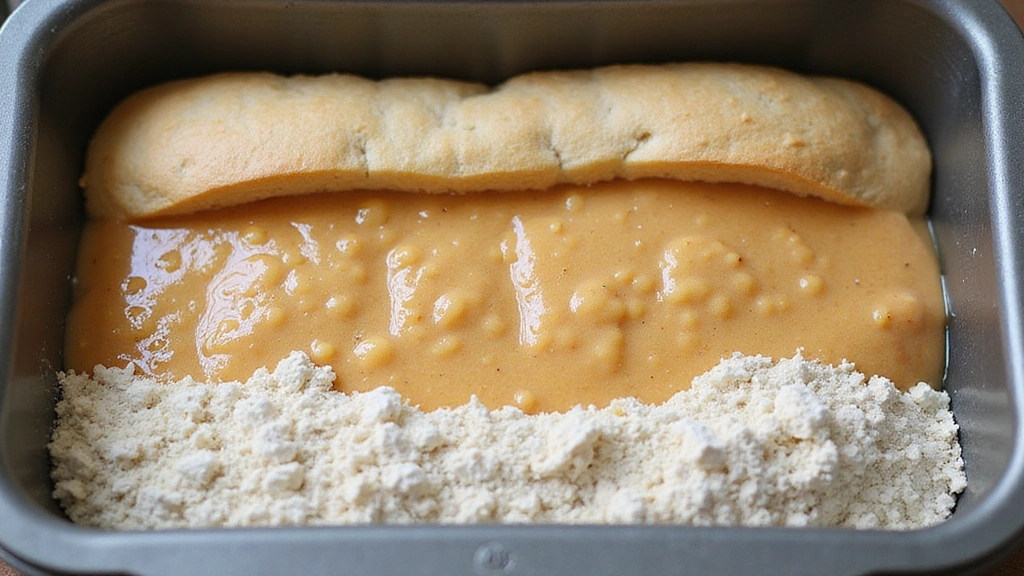
Place the bread machine pan on a stable surface.
Add warm water, sugar, and olive oil to the pan first.
Sprinkle in the flour, ensuring it covers the liquid completely.
Make a small well in the center of the flour and add yeast.


Step 3: Select Bread Machine Settings
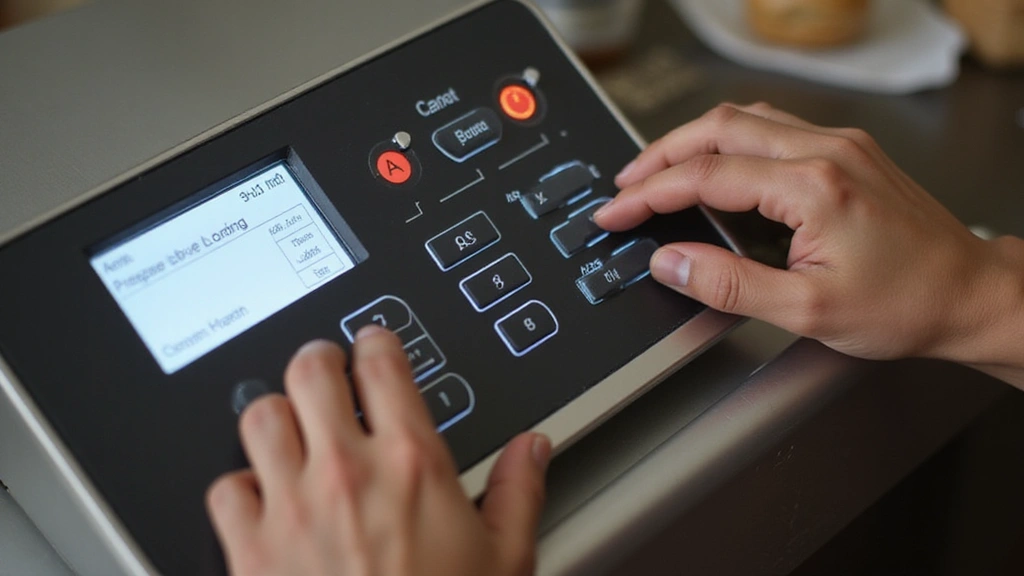
Close the bread machine lid securely.
Select the 'Basic' or 'White Bread' setting on your machine.
Adjust the crust setting to your preference, such as light or medium.
Start the machine and let it begin the kneading cycle.
Step 4: Monitor Kneading Process
Listen for the sound of the machine kneading the dough.
Open the lid briefly to check consistency after a few minutes.
Use a spatula to scrape down any flour from the sides if needed.
Ensure the dough forms a smooth, elastic ball.


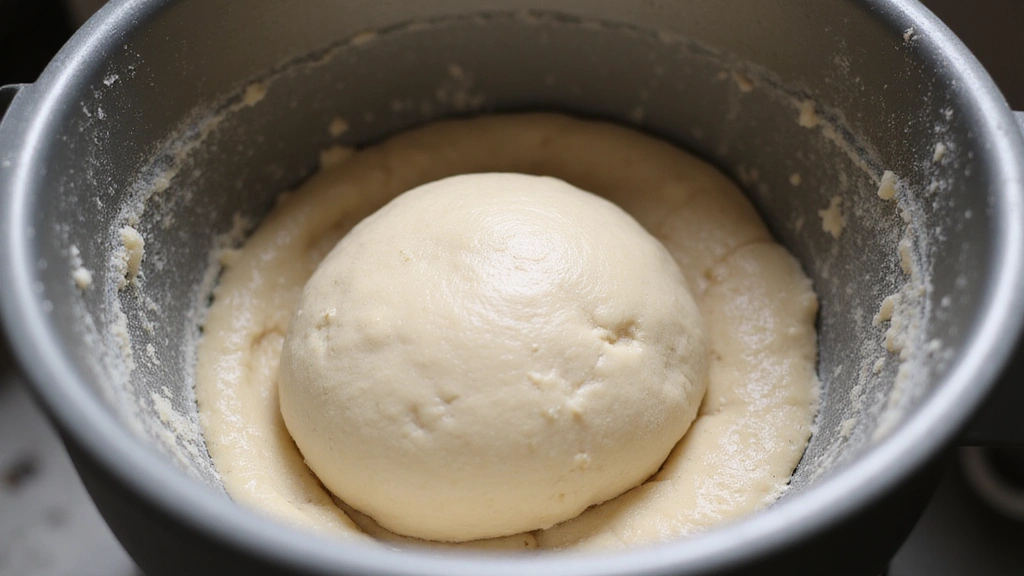
Step 5: Allow for First Rise
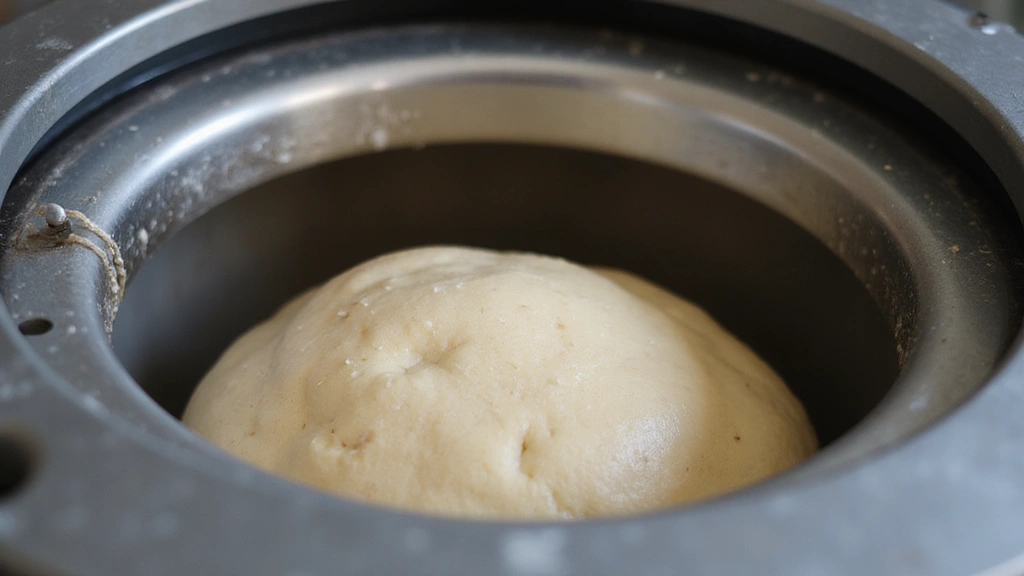
Let the bread machine complete its first rise cycle.
The dough should double in size inside the machine.
If your machine has a window, observe the dough's progress.
Avoid opening the lid during this stage to maintain warmth.
Step 6: Punch Down Dough
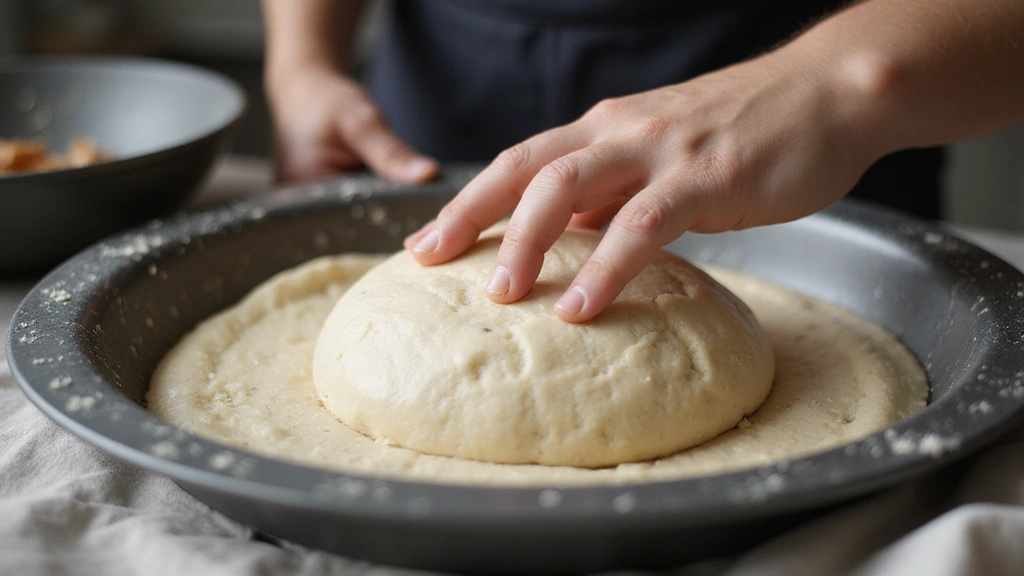
Once the rise cycle is complete, open the lid.
Use your fist to gently punch down the dough.
This releases gas and redistributes yeast.
Close the lid and allow the machine to continue to the next cycle.
Step 7: Final Rise and Bake
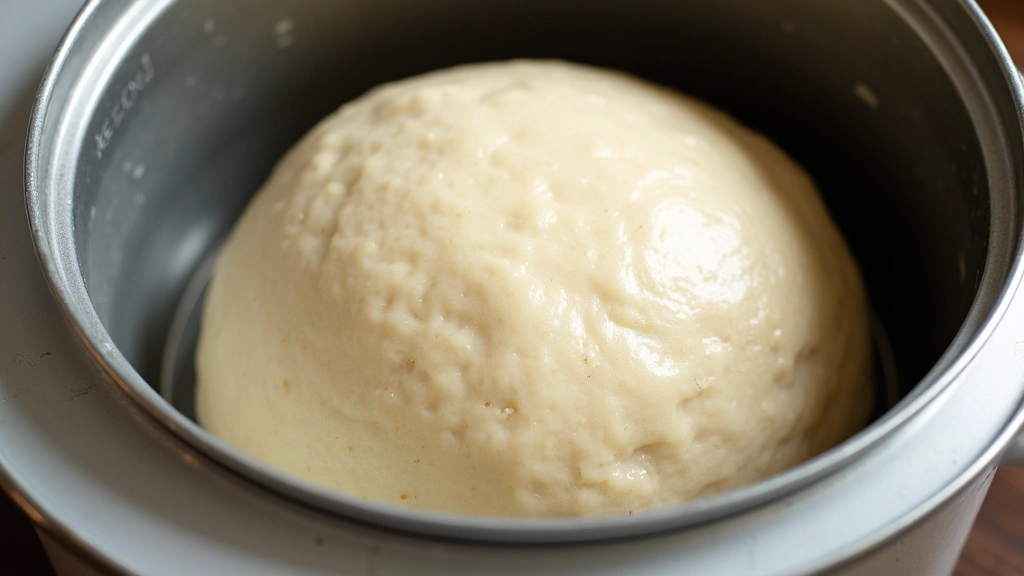
The machine will automatically transition to the final rise and baking phase.
Ensure the dough has risen adequately before baking begins.
Check the crust setting one last time for desired darkness.
Let the bread machine complete the baking cycle undisturbed.
Step 8: Cool and Serve
Once baking is complete, carefully remove the bread pan.
Use oven mitts as the pan will be hot.
Gently shake the bread out onto a cooling rack.
Allow to cool for at least 15 minutes before slicing.


Critical Timing and Temperature Guide
Yeast Activation: Ensure water is between 105°F and 115°F; too hot will kill the yeast, too cold will not activate it properly.
Kneading Cycle: Lasts about 20 minutes; dough should be elastic and not sticky. Adding too much flour can make it dry.
Baking Cycle: Typically at 350°F for 30-40 minutes; bread should be golden brown and sound hollow when tapped.
Pro Tips for Bread Machine Recipes
• Ingredient Selection: Opt for high-quality bread flour, which has more gluten for better structure.
• Preparation Secret: Adding a tablespoon of vinegar helps improve dough texture and shelf life.
• Temperature Management: Keep ingredients at room temperature before starting for consistent results.
• Texture Enhancement: Adding a tablespoon of dry milk powder improves crumb softness.
• Flavor Layering: Use a combination of olive oil and butter for richer flavor.
• Make-Ahead Strategies: Measure dry ingredients a day ahead and store them in a sealed container.
• Restaurant-Quality Finishing Touches: Brush the top with melted butter right after baking for a glossy finish.
• Equipment Optimization: Regularly clean the machine's kneading paddle for optimal performance.
Troubleshooting Common Issues
• Texture Too Dense: Caused by not enough yeast or over-kneading. Ensure yeast is fresh and active; check dough consistency during kneading.
• Crumbly Bread: Often from too much flour or insufficient kneading. Measure flour accurately and monitor dough texture.
• Uneven Rising: Can result from uneven temperature distribution. Ensure ingredients are at room temperature and machine is on a stable surface.
• Bread Sinks in the Middle: Usually from too much moisture. Reduce water slightly or use higher protein flour.
• Bread Sticks to Pan: Grease the pan lightly or ensure it is thoroughly clean for easy release.
Variations and Regional Differences
• Italian Style: Incorporates herbs like rosemary and thyme, and replaces water with milk for a softer crumb.
• French Bread: Uses a lean dough with just flour, water, salt, and yeast, resulting in a chewier texture.
• Whole Wheat Variation: Substitutes half the bread flour with whole wheat flour, adding honey for sweetness.
• Sweet Bread: Adds sugar, cinnamon, and raisins, creating a lightly sweetened loaf perfect for breakfast.


Food Science Behind the Recipe
• Gluten Development: The kneading process aligns gluten proteins, which is essential for bread structure and chewiness.
• Yeast Fermentation: Yeast consumes sugars, producing carbon dioxide which causes the dough to rise.
• Browning Reaction: The Maillard reaction during baking gives the crust its golden color and complex flavor profile.
Frequently Asked Questions
What's the most common mistake people make when preparing bread machine recipes? Overloading the machine with flour or other ingredients can lead to dense, uneven bread. Measure accurately and do not exceed machine capacity.
Can I use all-purpose flour instead of bread flour? Yes, but the texture may be less chewy due to lower gluten content in all-purpose flour.
How do I store leftover bread? Allow bread to cool completely, then store in an airtight bag or container at room temperature for up to three days.
Why is my bread crust too thick? This can result from baking too long or at high temperatures. Adjust crust setting or reduce bake time.
Can I add nuts or seeds to this recipe? Yes, add them during the kneading cycle to ensure even distribution.
What's the best way to slice homemade bread? Use a serrated knife and saw gently back and forth to avoid crushing the loaf.
How can I make my bread softer? Add a tablespoon of butter or oil to your dough to increase moisture and softness.
Serving and Presentation Guide
• Traditional Presentation: Slice the bread evenly and serve in a basket lined with a cloth napkin to keep it warm.
• Breakfast Option: Toast slices and serve with butter and jam for a delicious morning treat.
• Sandwich Style: Slice thickly and use for hearty sandwiches, paired with fresh greens and cold cuts.
• Appetizer Presentation: Cut into small pieces and serve with dipping oils and vinegar for a classic appetizer.
Conclusion
This easy bread machine recipe brings the joy of homemade bread into your home with minimal effort.
The smell of fresh bread will fill your kitchen, creating a warm and inviting atmosphere.
Try this recipe today and discover the satisfaction of baking your own bread.
Share this delightful experience with family and friends and enjoy fresh bread any day of the week.


