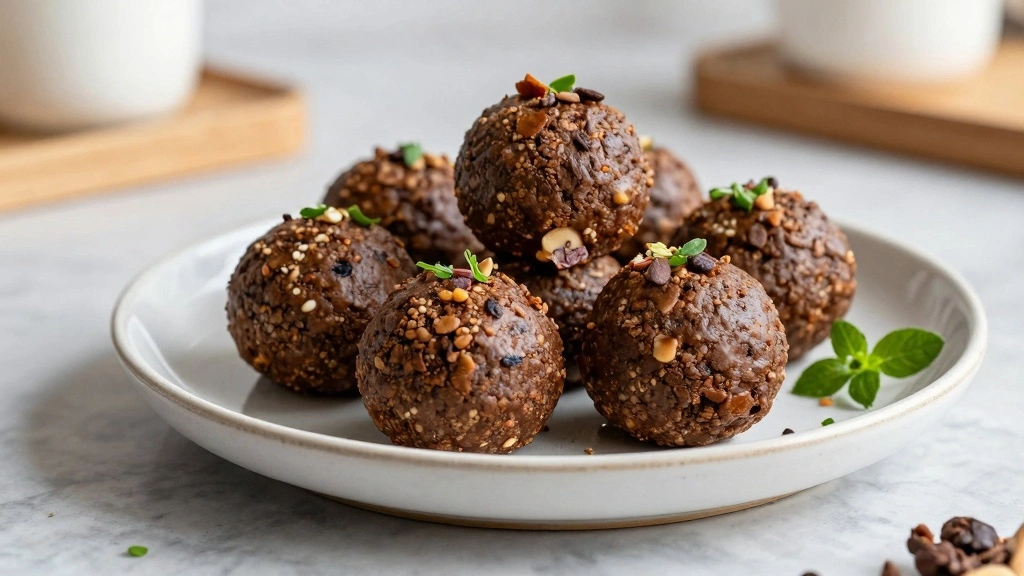
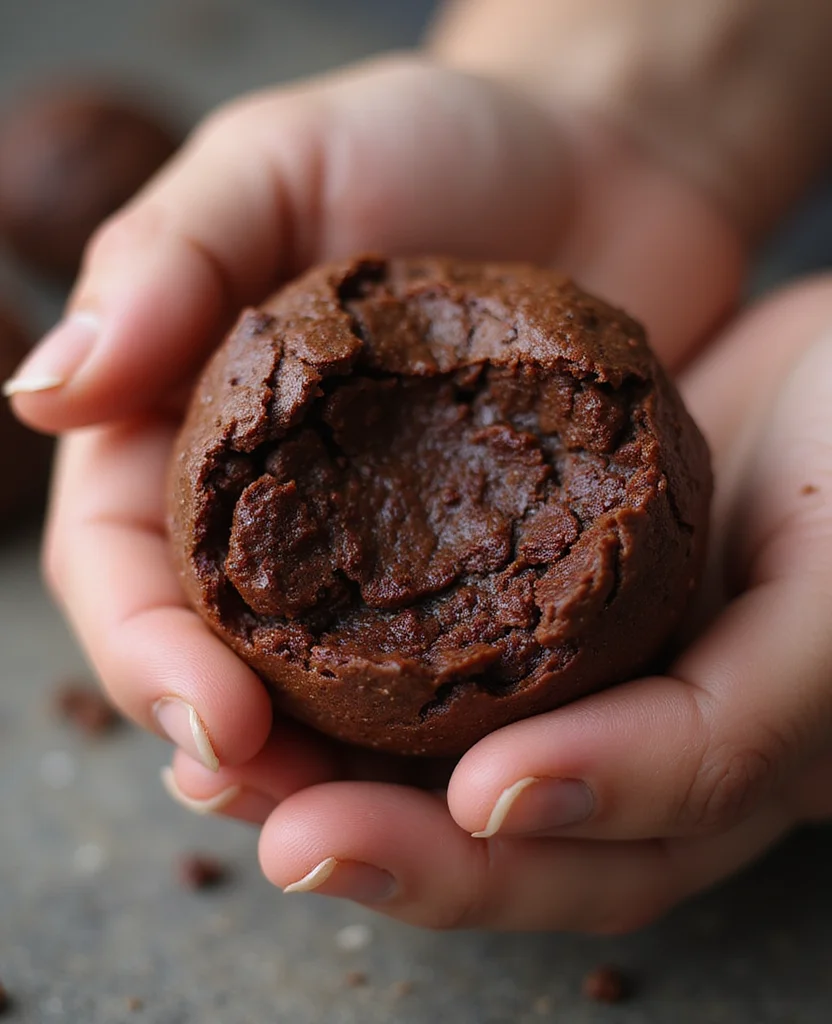
Brownie Protein Balls are a delightful fusion of flavor and nutrition, offering a guilt-free indulgence for those who crave the richness of chocolate in a healthier form.
Their no-bake nature makes them an easy and quick option for busy lifestyles, ensuring you can satisfy your sweet tooth without compromising on health.
Inspired by the classic brownie, these protein balls incorporate additional elements like nuts and seeds to enhance both texture and nutritional value.
Whether you’re looking for a post-workout snack or a midday energy boost, these little bites of goodness will keep you fueled and satisfied.
The harmonious blend of cocoa, nuts, and a hint of sweetness creates a taste experience that feels like a treat but functions as a nutritious snack.
Let’s dive into this simple yet rewarding recipe, perfect for anyone seeking a healthier alternative to traditional brownies.
The History and Cultural Significance
• Brownie Protein Balls trace their origins to modern health food movements, where they were created as a nutritious alternative to sugary snacks.
• The dish evolved over decades as fitness enthusiasts and health-conscious eaters sought ways to incorporate more protein into their diets, eventually becoming the beloved version we know today.
• In Western cultures, this dish traditionally appears at health and fitness events, symbolizing the growing trend of clean and mindful eating.
• While many variations exist across different regions, the authentic version maintains a rich cocoa flavor and a chewy texture that sets it apart from imitations.


Recipe Overview
Nutritional Information (per serving)


Essential Equipment Guide
Food Processor: A food processor is crucial for achieving the perfect texture, as it efficiently blends the ingredients into a cohesive mixture. Alternatives like a high-powered blender can work, but ensure it can handle dense mixtures without overheating.
Mixing Bowl: A mixing bowl is essential for combining the processed mixture with any additional ingredients. Look for a sturdy, medium-sized bowl that allows for easy mixing.
Measuring Cups: Precision is key in this recipe, so accurate measuring cups are important to ensure the right balance of ingredients. Look for a set that includes all common measurements, especially 1/4 cup and 1/2 cup sizes.


Ingredients
For the Base
|
| Amount | Ingredient | Notes |
|---|---|---|
| 1 cup | rolled oats | provides structure and fiber |
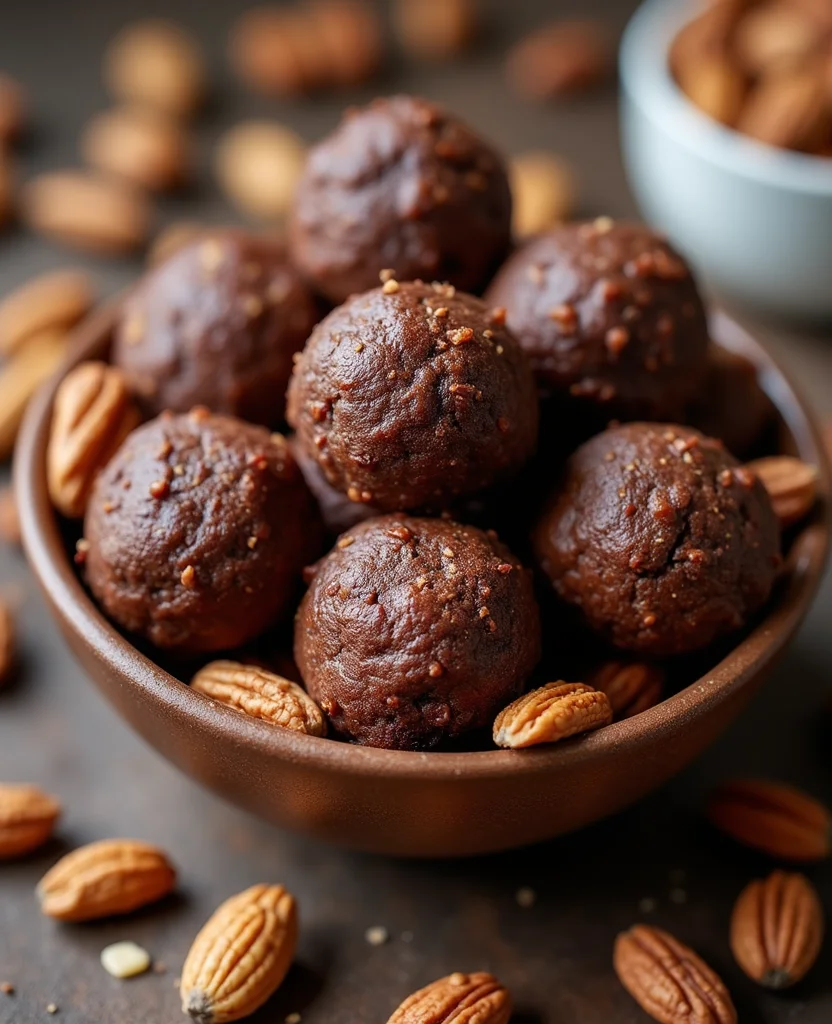
| 1/2 cup | almonds | adds crunch and healthy fats |
| 1/4 cup | cocoa powder | gives rich chocolate flavor |
| 1/2 cup | protein powder | boosts protein content |
For the Sweetness
| Amount | Ingredient | Notes |
|---|---|---|
| 1/4 cup | honey | natural sweetener |
| 1 teaspoon | vanilla extract | enhances flavor |
Optional Add-ins
| Amount | Ingredient | Notes |
|---|---|---|
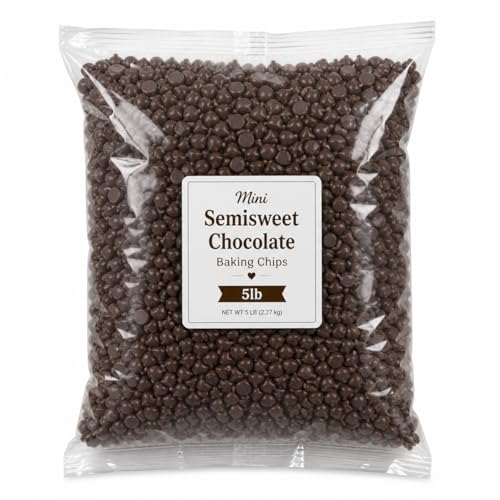
| 1/4 cup | dark chocolate chips | for extra chocolate goodness |
| 2 tablespoons | chia seeds | adds texture and omega-3s |


Preparation Methods
Pulsing Technique: Pulsing the ingredients in a food processor ensures they combine evenly without over-processing, which can lead to a paste-like texture. Use short bursts and check consistency frequently to maintain the right balance between chunkiness and smoothness.
Binding: Achieving the right consistency with honey and protein powder is crucial for binding the ingredients into cohesive balls. If the mixture is too dry, add a touch more honey; if too wet, add more oats or protein powder.
Rolling: Rolling the mixture into balls requires slightly damp hands to prevent sticking. This technique helps form uniform balls that hold their shape well.
Step 1: Prepare Ingredients
Gather all your ingredients and equipment.
Measure out the oats, almonds, cocoa powder, and protein powder.
Ensure honey and vanilla extract are at room temperature.
This makes them easier to mix into the dry ingredients.


Step 2: Process the Dry Ingredients
Add oats, almonds, cocoa powder, and protein powder to the food processor.
Pulse the mixture several times until it reaches a coarse, sandy consistency.
Check to ensure no large almond pieces remain.
This ensures a uniform texture in the protein balls.
Step 3: Add the Sweetness
Pour honey and vanilla extract into the food processor.
Pulse again until the mixture begins to clump together.
The mixture should be sticky enough to hold when pressed.
This step ensures the sweetness is evenly distributed.
Step 4: Check Consistency
Test the mixture by pressing a small amount between your fingers.
If it holds together, it's ready for shaping.
If too crumbly, add a bit more honey.
If too sticky, add a touch more oats or protein powder.
Step 5: Shape the Balls
Use a tablespoon to scoop out portions of the mixture.
Roll each portion into a ball using your palms.
Slightly damp hands help prevent sticking.
Aim for uniform size for even serving.
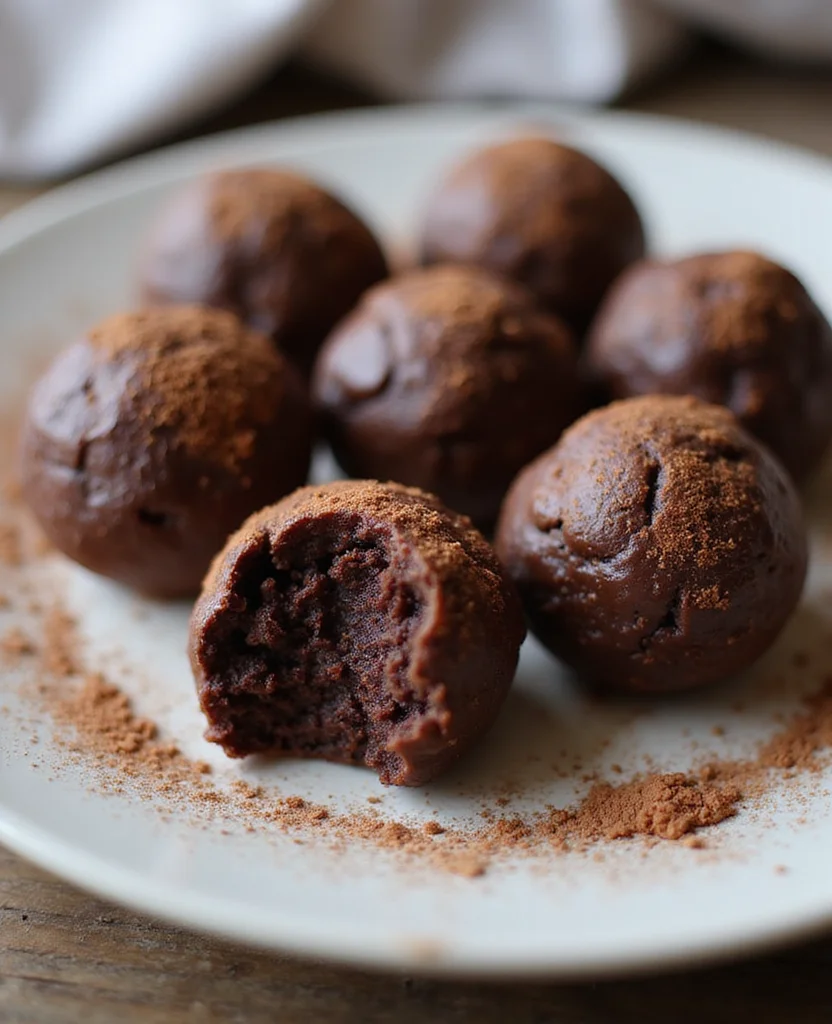
Step 6: Add Optional Toppings
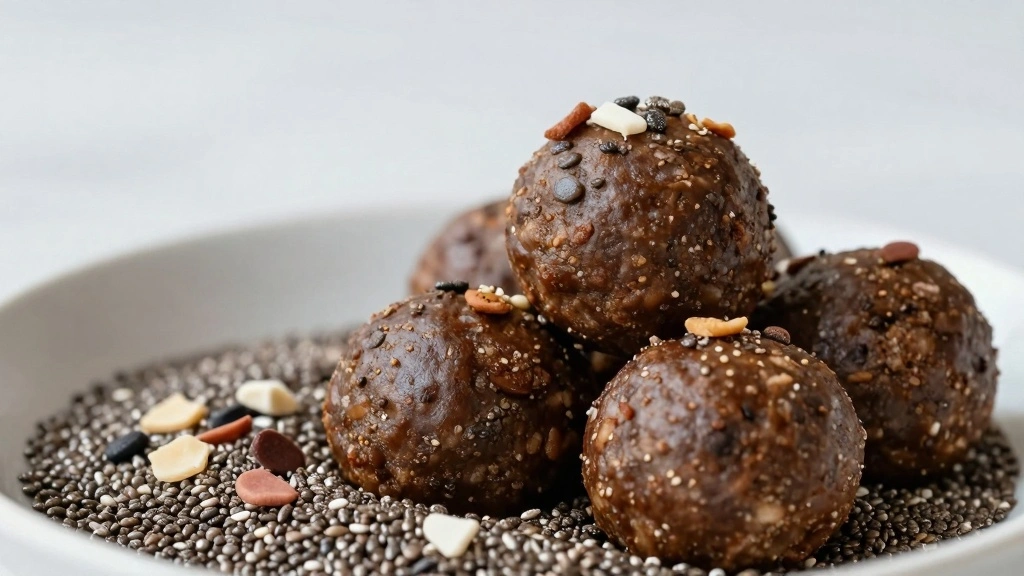
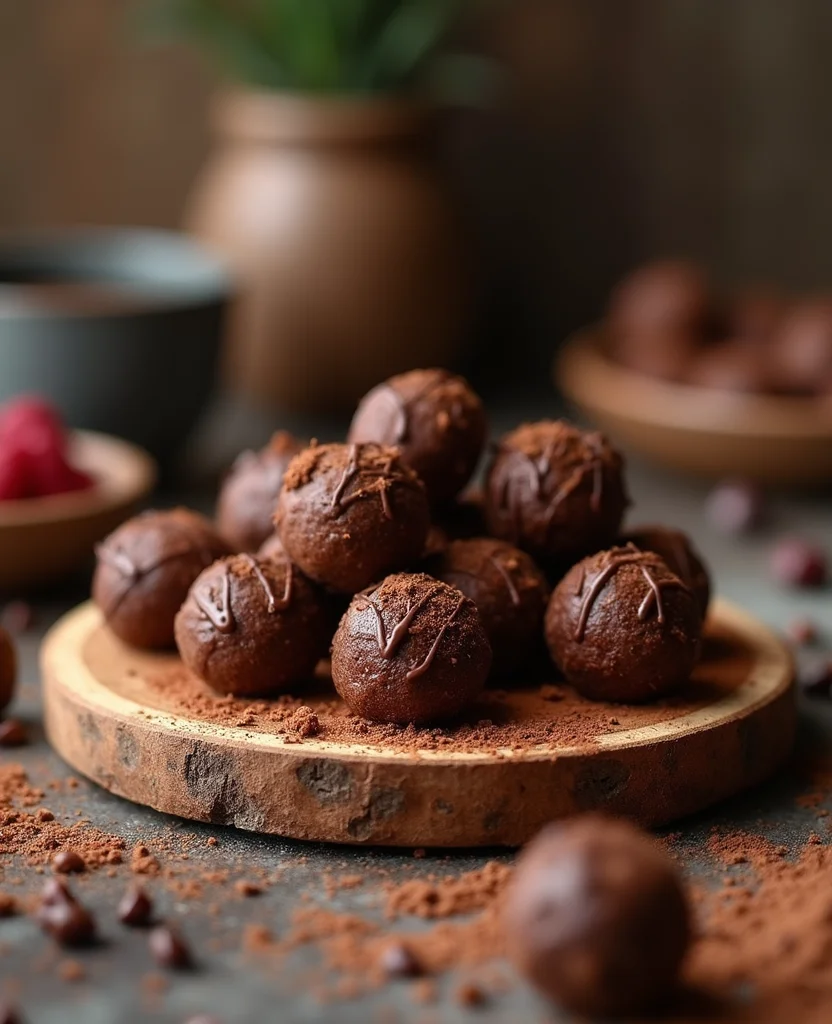
Roll each ball in desired toppings like chia seeds or additional cocoa powder.
Ensure toppings adhere well by pressing gently.
This enhances texture and visual appeal.
Feel free to get creative with different toppings.
Step 7: Chill the Balls
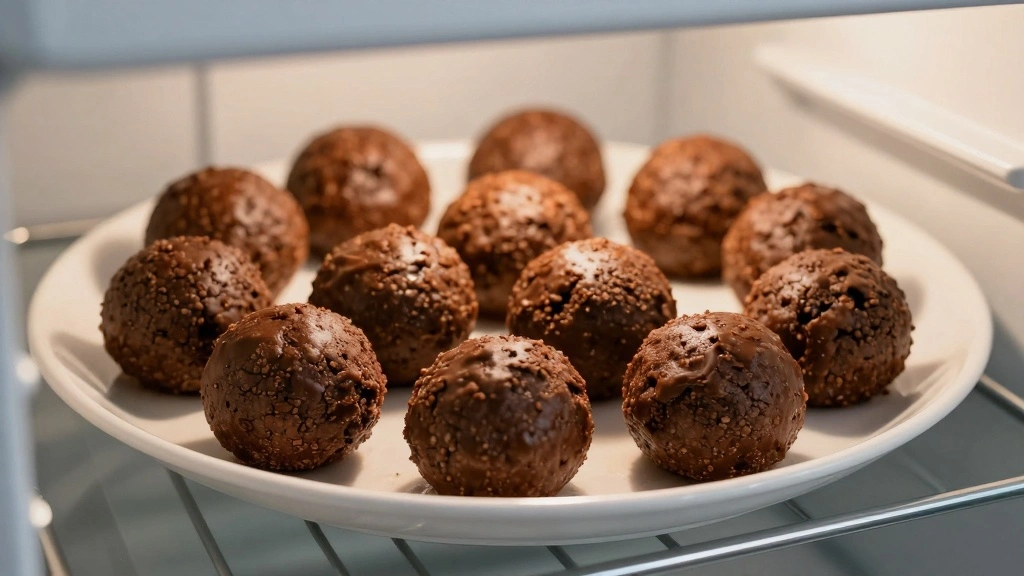
Place the protein balls in the refrigerator.
Chill for at least 30 minutes to firm up.
This step enhances the texture and flavor.
They can also be eaten immediately if you prefer a softer consistency.
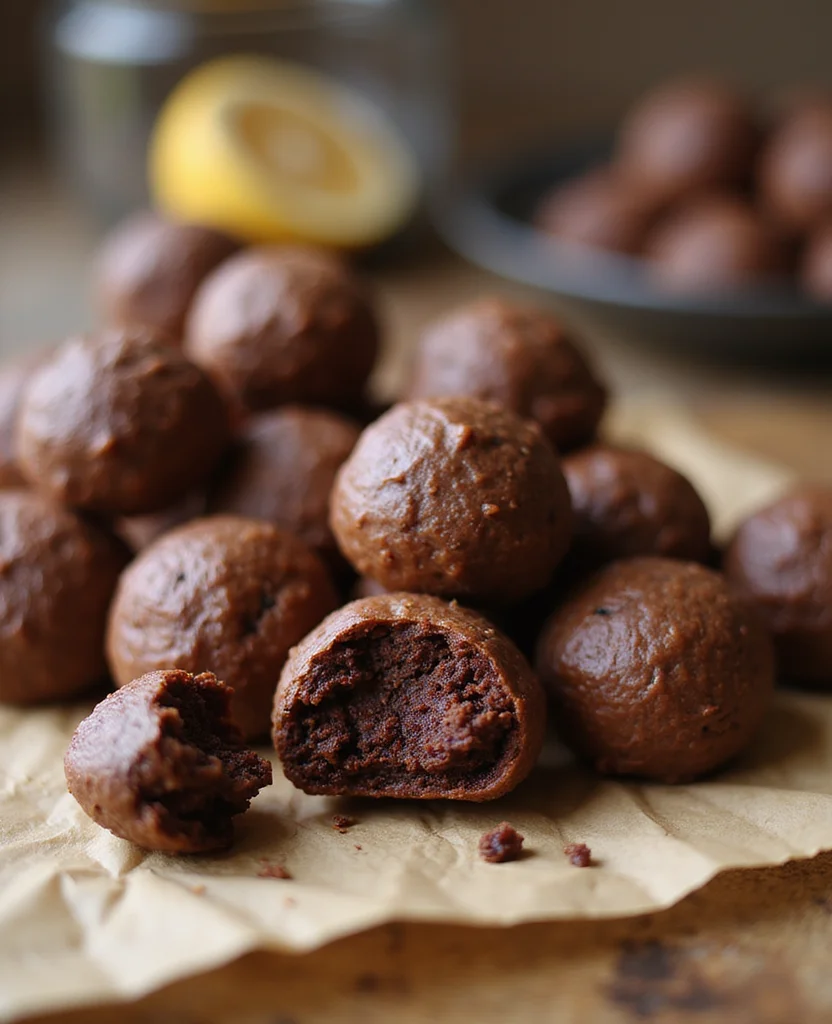
Step 8: Serve and Enjoy
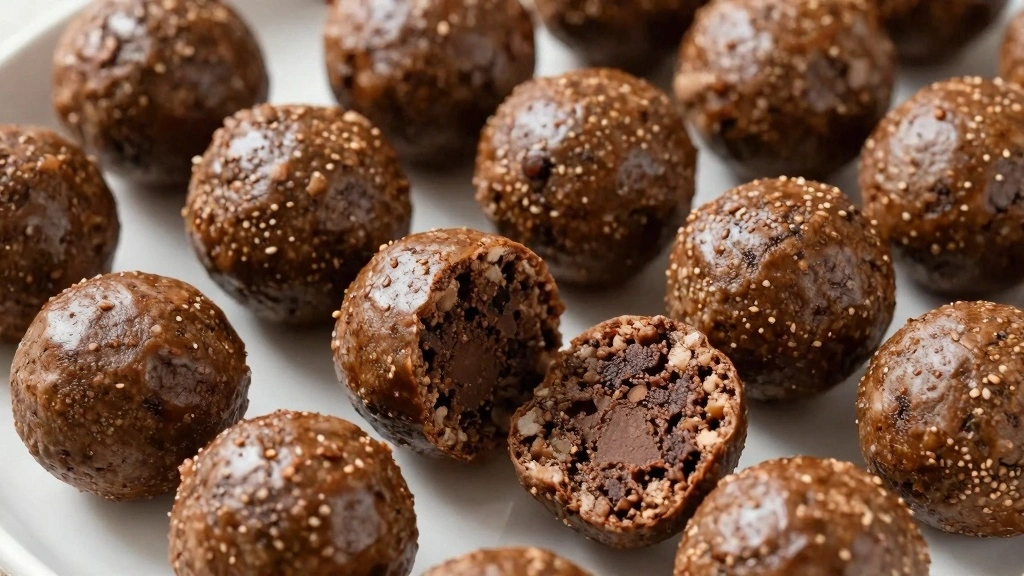
Remove the protein balls from the fridge.
Serve them on a platter or store in an airtight container.
They make a great on-the-go snack or dessert.
Enjoy their rich chocolate flavor and satisfying texture.


Critical Timing and Temperature Guide
Chilling Process: Chill in the refrigerator for at least 30 minutes. Ensure the balls are firm to the touch before serving. Avoid freezing as it can alter texture.
Mixing Time: Pulse the mixture for no more than 2 minutes in total to avoid overheating the food processor. Look for a coarse, sandy texture with visible clumping.
Storage Conditions: Store in an airtight container at room temperature for up to 3 days, or refrigerate for up to a week. Avoid exposure to moisture, which can cause the balls to soften.
Pro Tips for Brownie Protein Balls
• Ingredient Selection: Use high-quality cocoa powder for the best chocolate flavor, and opt for a natural sweetener like organic honey for a cleaner taste.
• Preparation Secret: Slightly toasting the almonds before processing can enhance their flavor and add a nutty depth to the balls.
• Temperature Management: Keep honey and vanilla extract at room temperature for easier mixing and better incorporation into the dry ingredients.
• Texture Enhancement: For a chewier texture, incorporate finely chopped dates into the mixture.
• Flavor Layering: Add a pinch of sea salt to the mixture to balance the sweetness and enhance the chocolate flavor.
• Make-Ahead Strategies: Prepare the mixture up to a day ahead and store tightly covered in the refrigerator until ready to shape and serve.
• Restaurant-Quality Finishing Touches: Dust with unsweetened cocoa powder before serving for a professional touch and added visual appeal.
• Equipment Optimization: Use a silicone spatula to scrape the sides of the food processor to ensure all ingredients are evenly mixed.


Troubleshooting Common Issues
• Texture Too Dry: This can occur if there is not enough honey or if the protein powder is too absorbent. Add a little more honey or a splash of milk to bring the mixture together.
• Flavors Unbalanced: If the chocolate flavor is too overpowering, balance it with a touch more vanilla or a sprinkle of cinnamon.
• Balls Not Holding Shape: Ensure the mixture clumps together in the processor. If not, add more honey or protein powder to adjust consistency.
• Mixture Too Sticky: If the mixture sticks excessively to your hands, it may need more dry ingredients. Gradually add more oats or protein powder until manageable.
• Uneven Size Balls: Use a tablespoon measure to ensure uniform size, which helps with even chilling and presentation.
Variations and Regional Differences
• Vegan Variation: Substitute honey with maple syrup or agave nectar to make the recipe vegan-friendly, keeping the same sweetness level.
• Nut-Free Version: Replace almonds with sunflower seeds or pumpkin seeds, maintaining the crunchy texture without nuts.
• Spiced Variation: Add a teaspoon of cinnamon or a pinch of cayenne pepper for a spiced variation, adding warmth and complexity.
• Fruit-Infused Style: Incorporate dried cranberries or raisins for a fruity twist, adding a sweet-tart flavor and chewy texture.


Food Science Behind the Recipe
• Emulsification: Honey acts as an emulsifier, helping to bind the dry ingredients together by creating a cohesive mixture that holds shape.
• Protein Powder Function: The protein powder not only boosts nutritional content but also absorbs moisture, contributing to the structure of the balls.
• Fat's Role: Almonds provide healthy fats, which add richness and help create a smooth mouthfeel, balancing the dry ingredients.
Frequently Asked Questions
What's the most common mistake people make when preparing Brownie Protein Balls? Over-processing the mixture, leading to a paste-like consistency instead of a coarse texture.
Can I use any type of protein powder? Yes, but the flavor and texture may vary. Whey, pea, or hemp protein powders work well in this recipe.
How can I make these gluten-free? Use certified gluten-free oats and ensure all other ingredients are gluten-free.
Can I freeze the protein balls? Yes, but it may alter the texture slightly. Freeze in a single layer, then transfer to an airtight container.
How long do these last? They last up to a week in the refrigerator or up to 3 days at room temperature in an airtight container.
Is there a substitute for cocoa powder? Carob powder can be used as a substitute for a different flavor profile.
What if I don't have a food processor? A high-powered blender can work as an alternative, though it may require more frequent scraping of the sides.
Serving and Presentation Guide
• Traditional Presentation: Serve the protein balls on a small platter lined with parchment paper, dusted lightly with cocoa powder for an elegant touch.
• Casual Snack Option: Place them in a mason jar or small bowl for easy grab-and-go access.
• Party Presentation: Arrange the balls in a pyramid on a cake stand, garnished with edible flowers or mint leaves for visual appeal.
• Gift Presentation: Pack in a decorative tin or box lined with wax paper for a thoughtful homemade gift.
Conclusion
Brownie Protein Balls offer a delicious way to incorporate more protein into your diet without sacrificing taste.
Their ease of preparation and versatility make them a perfect addition to any snack routine.
Try this recipe and enjoy the satisfying combination of flavors and textures in every bite.